

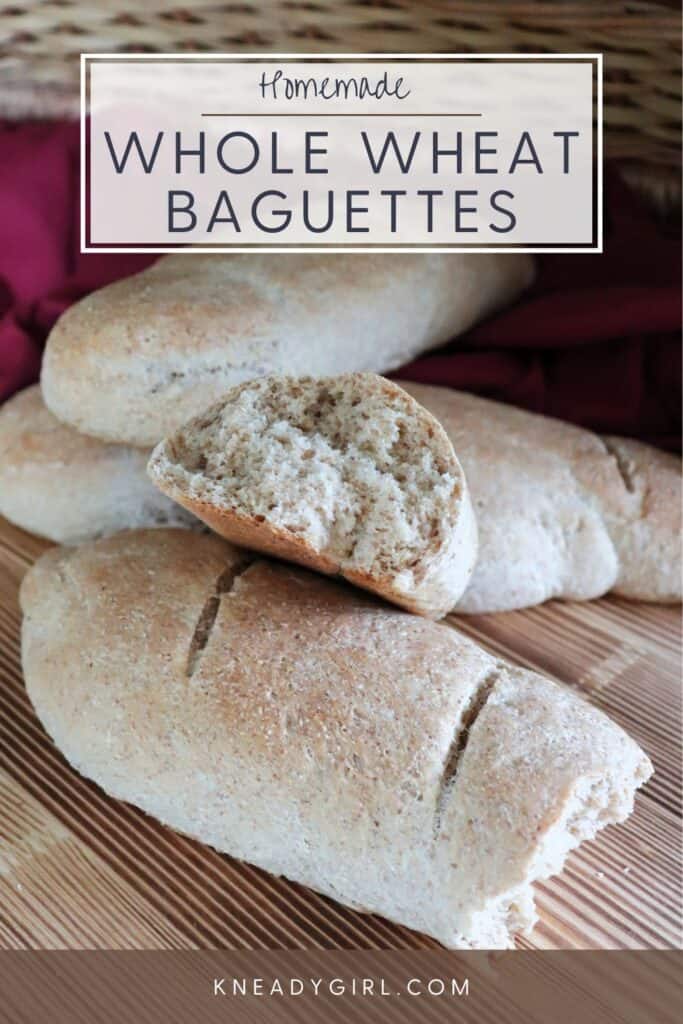
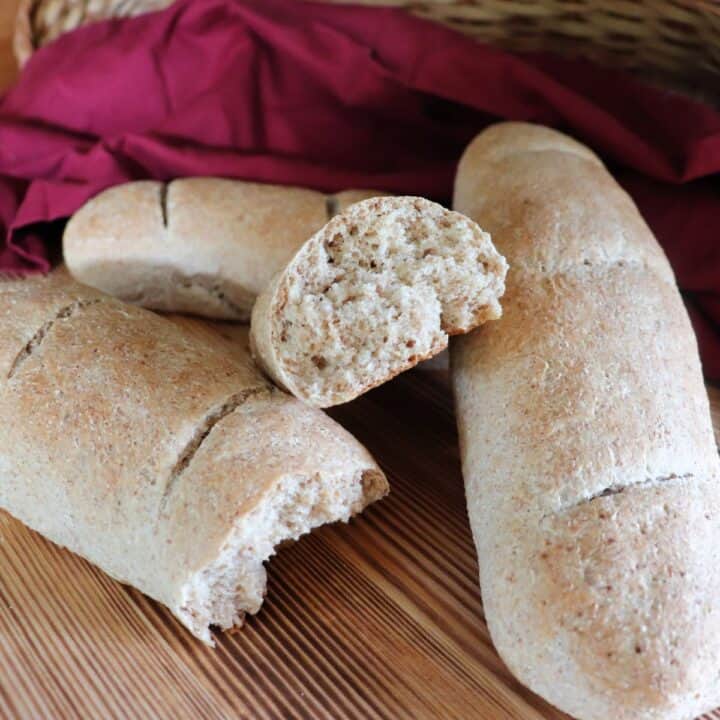
These whole wheat baguettes have a genuinely crusty exterior and a chewy, open interior, achieved through a simple steam technique that anyone can do at home without special equipment. The recipe makes three shorter loaves, naturally vegan, and full of whole grain flavor.
With its crispy exterior and chewy interior, this whole wheat bread will give you all the texture you expect from a traditional french baguette with plenty of whole grain to keep you full.
Wheat baguettes are an amazing addition to any meal and look impressive on the table for guests and feasts and this simple recipe can help you get there without any fuss.
Basic but Flavorful
A basic bread contains only a few ingredients. The ingredients are simple and yet when combined turn into something flavorful and comforting in a magical way. It’s naturally vegan, too, making it an easy addition to any meal when you might be unsure of dietary choices.
Experience Level : Intermediate
This is a great recipe to use if you want to move on from using just bread flour or all-purpose flour and begin experimenting with whole-wheat flour in your home bread baking. Wheat flour absorbs water differently than white flour meaning it can take a bit of practice to get the hang of kneading and shaping and this recipe can easily guide the way into experimenting more.
No Special Equipment Required
Nothing about this bread requires any kind of special equipment either, making it easy for even the most casual bread baker to pull together.
Yes, you can buy special baguette pans for perfectly formed loaves. No, it is not even remotely necessary. A regular old cookie sheet works more than fine. A baking stone too can help make it crustier but again isn’t required.
An electric stand mixer with a dough hook makes the dough come together quickly, however; it can be made with just a bowl, a wooden spoon, and your hands just like people did for thousands of years before electricity.
Crispy Crust
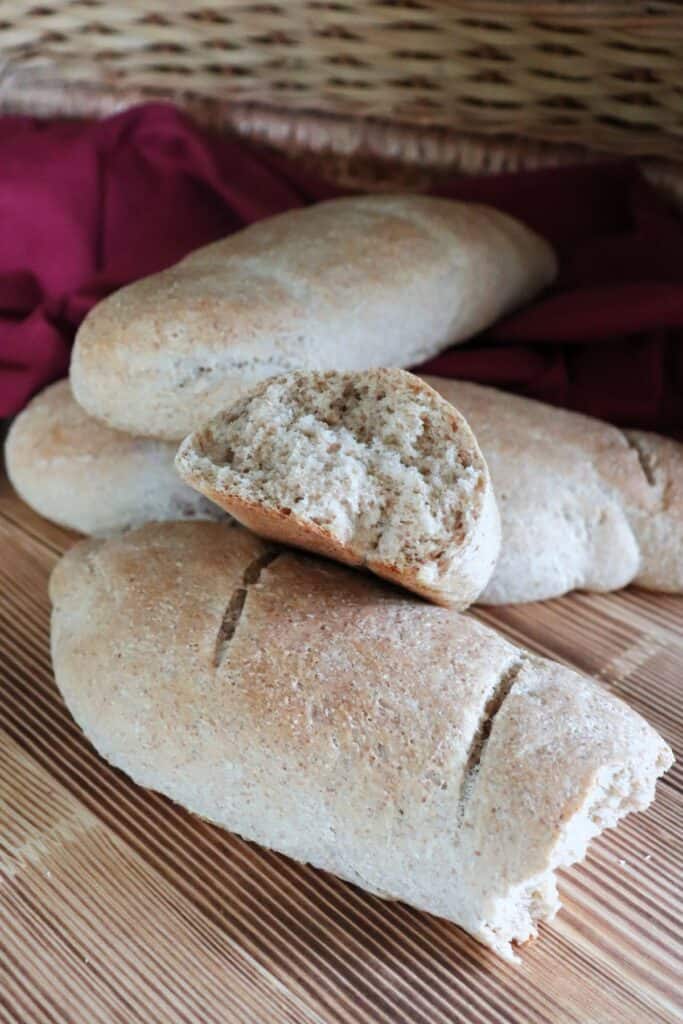
The texture of a crispy crust and spongy interior is generally the thing bakers and eaters are after in a crusty french bread loaf. When it is squeezed, it should be obvious that the exterior is tough but the insides squeeze easily.
To make that crispy crust happen while keeping the interior soft is achieved through the addition of steam and moisture during the baking process.
The easiest way to achieve that moisture is by filling a spray bottle with tap water and spraying the oven down before baking. It’s also very helpful to brush the raw dough with water prior to putting it in the oven.
Shaping
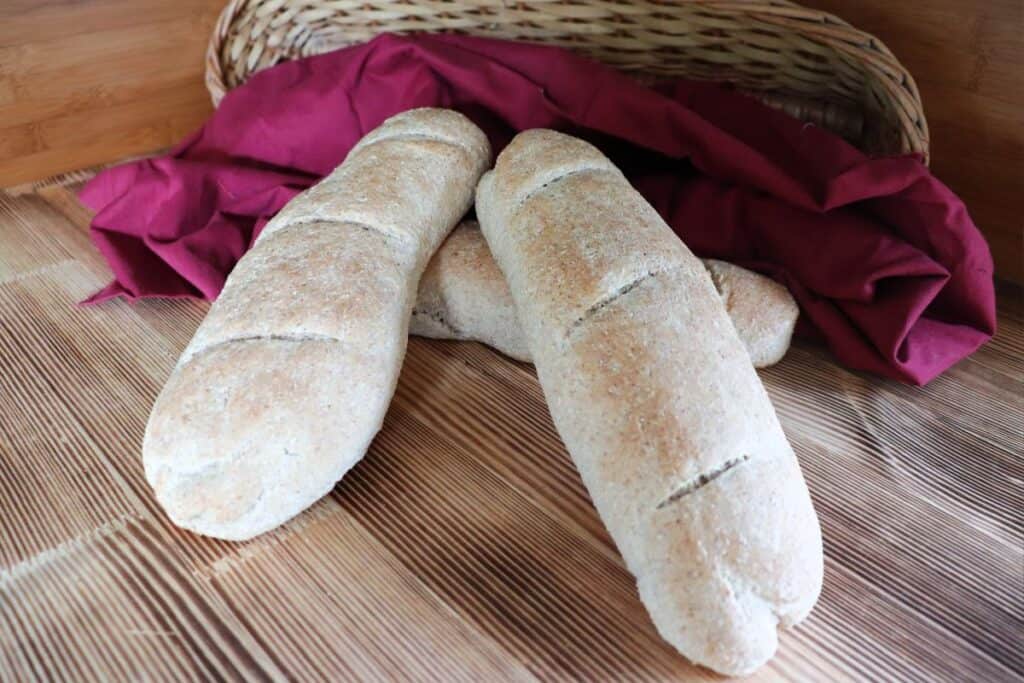
The recipe makes three shorter loaves. French bread and baguettes are traditionally quite long but you can adjust the length of each baguette to your own preference.
The shorter loaves are much easier to store in my experience as they fit in regular plastic bags most of us already have at home.
Like length the width too can be adjusted. Make them skinnier or wider as desired and to match your planned use of them. For example, if you’re serving them with soup, you might want the loaves to be a little wider for dipping into broth. If you’re serving them as crostini for a large party, skinnier loaves might make better coin shapes for the platter.
Baking Time
Time will vary greatly based on the shape and length of the loaves. Do start checking for doneness at about 20 minutes. The loaves will be a golden brown and sound hollow when tapped with your knuckle when done.
How to Serve
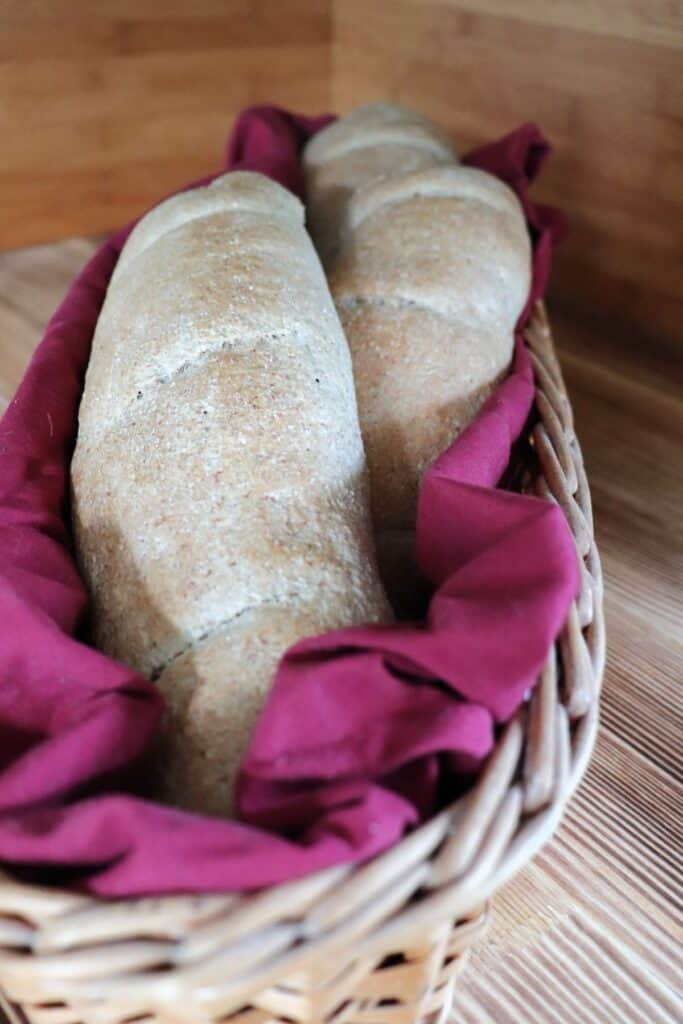
Serve whole grain baguettes, like you would any good bread. Definitely put whole loaves on the table with soup for folks to tear off pieces and dunk.
Use it for simple meals by spreading slices with something like a smoked salmon dip and serving with raw vegetables.
Slices can easily be put into a basket with dinner to be spread with butter at feasts. For breakfast, serve warm slices with jam alongside eggs and more for a filling start to the day.
How to Store
Wrap any leftover bread in plastic wrap or store in airtight containers where it should stay fresh for up to 5 days at room temperature.
For longer term storage, wrap well or place into freezer bags and freeze. Use up frozen bread within 6 months for best flavor. Let thaw on the counter prior to serving.
Troubleshooting
The crust isn’t crispy. The steam is the key step here. Make sure you’re spraying the oven walls immediately before and after loading the loaves, and closing the door quickly each time to trap the moisture. Skipping or rushing this step is the most common reason for a soft crust.
The dough is very sticky and hard to knead. Whole wheat flour absorbs water more slowly than white flour. Give the dough a few extra minutes before adding more flour. It will come together. Add bread flour a tablespoon at a time if it remains truly unworkable.
The loaves didn’t rise much. Check that your yeast foamed properly before adding the flour. Also make sure the dough had a genuinely warm place to rise. Whole wheat doughs can be slower to rise than white flour doughs, so give it the full hour if needed.
The interior is dense. This usually comes from under-kneading or not enough rise time. The dough should feel smooth and elastic after kneading and should noticeably double during both rise periods.
The loaves spread out flat instead of holding their shape. The dough may have been too wet or the shaping needs more practice. Roll the dough firmly when shaping and make sure the seam is on the bottom when placed on the baking sheet.
The slashes on top closed up during baking. The razor or knife needs to be very sharp and the cuts made quickly and decisively at a shallow angle. Hesitant cuts tend to drag rather than slice cleanly.
Whole Wheat Baguette Recipe
Crusty and delicious whole wheat baguettes are the perfect addition to any meal and oh-so-easy for the baker to whip up
Ingredients
- 2 Cups Warm Water
- 2 Tablespoons Sugar
- 1 Tablespoon Active Dry Yeast
- 2 Cups Whole Wheat Flour
- 2 1/2 Cups Bread Flour
- 1 Tablespoon Salt
Instructions
- In a large mixing bowl, combine the water, yeast, and sugar. Give it a quick whisk and let sit aside until foamy, 5-10 minutes.
- Add the wheat flour to the water mixture and stir well. Add the salt and 2 cups of bread flour. Mix and continue adding flour until the dough is formed. You can do this with a wooden spoon or with a stand mixer and dough hook.
- Turn the dough out onto a lightly floured board and knead until the dough is smooth and elastic.
- Lightly grease a large bowl. Put the dough into the greased bowl and turn to coat with the oil.
- Cover with a tea towel and let the dough rise until doubledin a warm place, about an hour.
- Lightly grease a cookie sheet or line with parchment paper.
- Punch down the risen dough to deflate it. Turn out to a floured work surface and knead just slightly.
- Divide dough ball into three equal pieces. For best results, weigh the dough on a kitchen scale so that each portion of the dough of the dough weighs the same.
- On the floured surface, knead and roll the dough with your hands into an oval shape about 10” long.
- Place loaves onto the greased baking sheet leaving a few inches in between each loaf.
- Using a pastry brush, brush the loaves with cool tap water.
- Cover with a towel and let rise until doubled, about 30-45 minutes.
- Meanwhile preheat the oven to 400 degrees Fahrenheit.
- With a razor blade or very sharp knife, cut slits diagonally into the tops of each loaf.
- Spray the bottom of the oven with water and close the door.
- Place the cookie sheet into the oven and again spray the oven walls with water, shutting the oven door quickly.
- Bake in the preheated oven for 20-25 minutes or until the loaves are golden brown and sound hollow when tapped.
- Remove from the baking sheet immediately to cool completely on wire rack.
Nutrition Information:
Yield: 30 Serving Size: 1 sliceAmount Per Serving: Calories: 73Total Fat: 0gSaturated Fat: 0gTrans Fat: 0gUnsaturated Fat: 0gCholesterol: 0mgSodium: 213mgCarbohydrates: 15gFiber: 1gSugar: 1gProtein: 3g
I try but cannot guarantee this nutritional information is 100% accurate.

What about a recipe for whole grain Baguettes? Thank you
The crisp crust of a baguette is one of my favorite things about French bread. Every bite has a satisfying crunch.