

Make this easy telera bread recipe for homemade sandwiches and more!
These are the torta rolls used for traditional mexican sandwiches but that can be so very versatile for the home cook.
This is a savory mexican bread perfect for filling with refried beans, dipping in hot chocolate, or wrapping around cold cuts of any variety.
Simple Ingredients
This is a staple bread recipe, much like french bread there’s not much complicated. Water, flour, yeast, salt and some sugar and lard. That’s it.
And yet that unassuming nature means that telera rolls are the perfect vessel for whatever filling you choose. The bread won’t overwhelm the flavor only provide a handheld package.
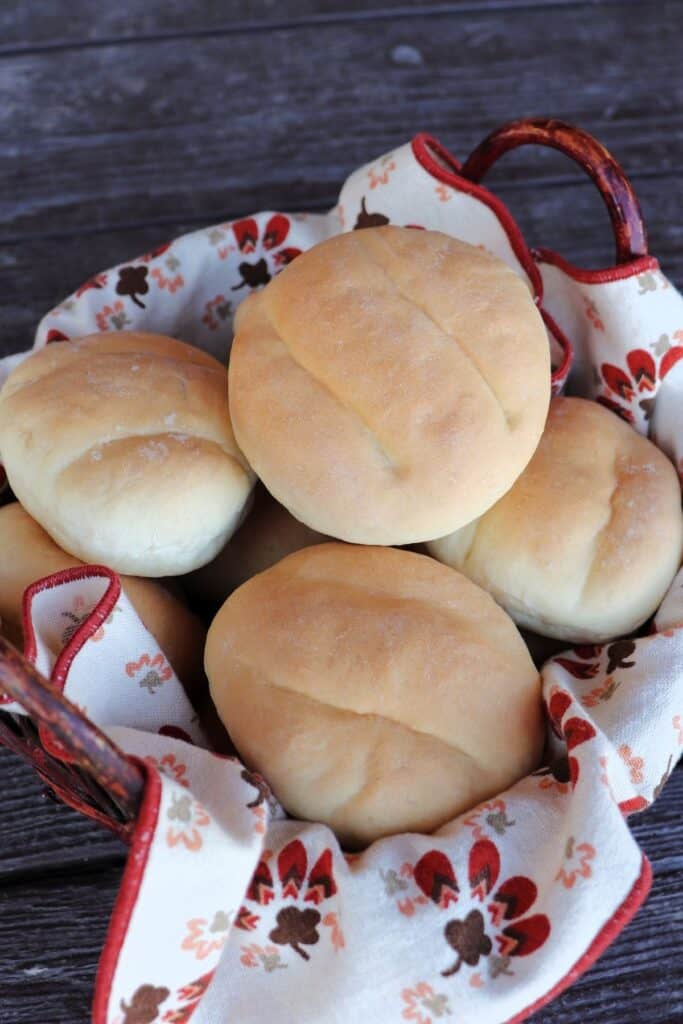
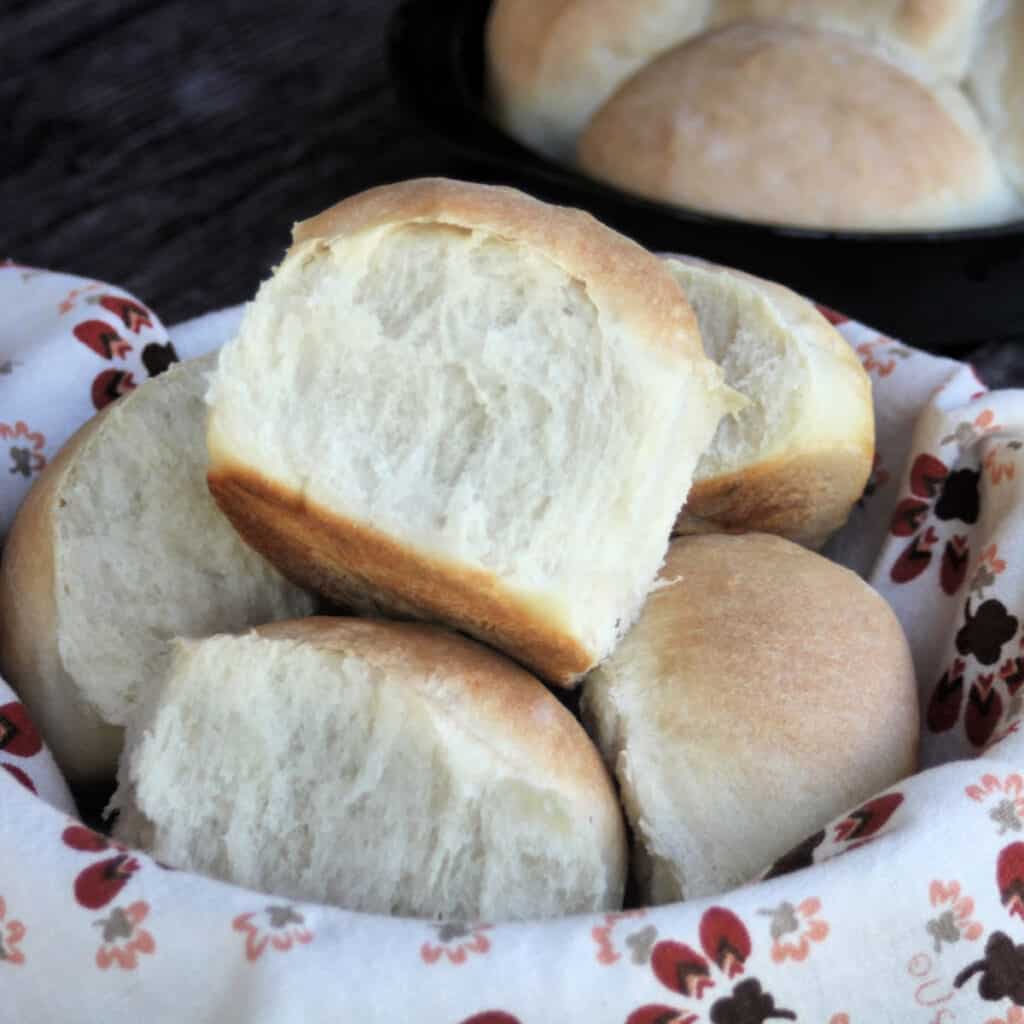
The final rolls will have a crispy crust and soft interior.
Experience Level : Intermediate
This is a pretty basic bread recipe and as long as the baker has at least made a few loaves of bread in the past they should be able to tackle this torta bread roll.
The shaping and indention marks a great project for bakers looking to up their skills and bread baking game from standard loaves.

Lard
Lard is either a treasured and precious fat or a villainous substance to be avoided at all costs it seems in our modern American diet culture.
I always kind of find myself in the middle, like anything moderation is key.
Lard is a traditional food and has some benefit for us in my opinion. However, if you don’t like or want to use lard, try melted butter or even your favorite vegetable oil instead.
Don’t skip fat entirely in this recipe, though, it is important to the final texture and finished product.
Flour Choices
It seems that most of the rolls I’ve seen use white flour. I opted for bread flour to give the structure and texture I felt would be best for hearty sandwich fillings.
However, some whole wheat flour could likely be substituted for the bread flour if you’d like a little whole grain.
All purpose flour could also be used instead of bread flour.
As always, different types of flour absorb water differently so add flour a little at a time until a cohesive dough is formed and add more as necessary to knead it to a smooth and elastic ball.
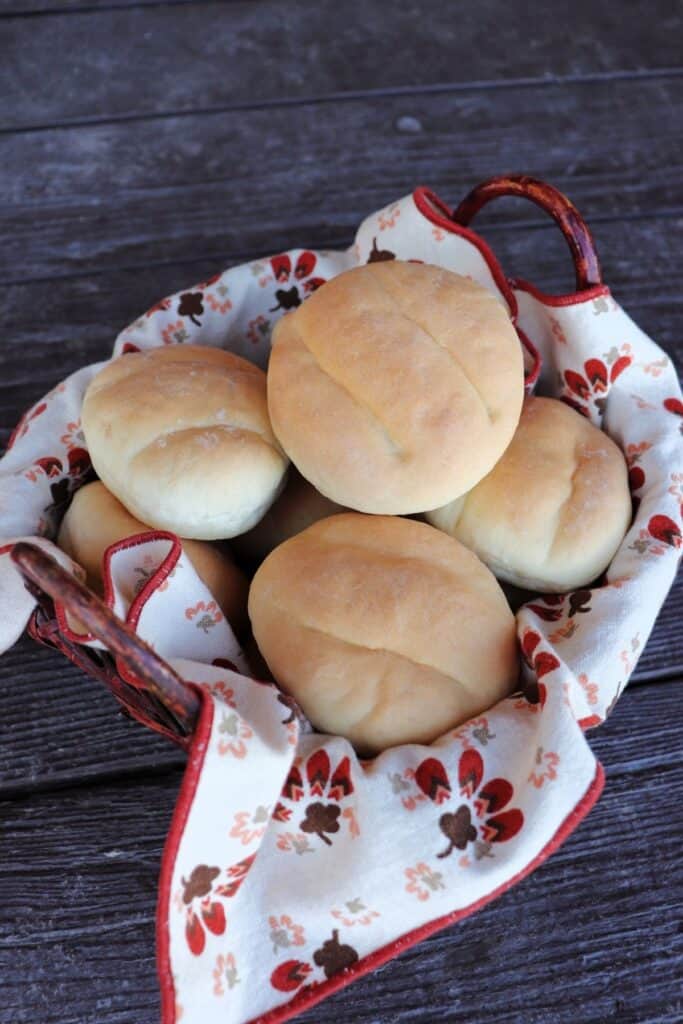
The Shape
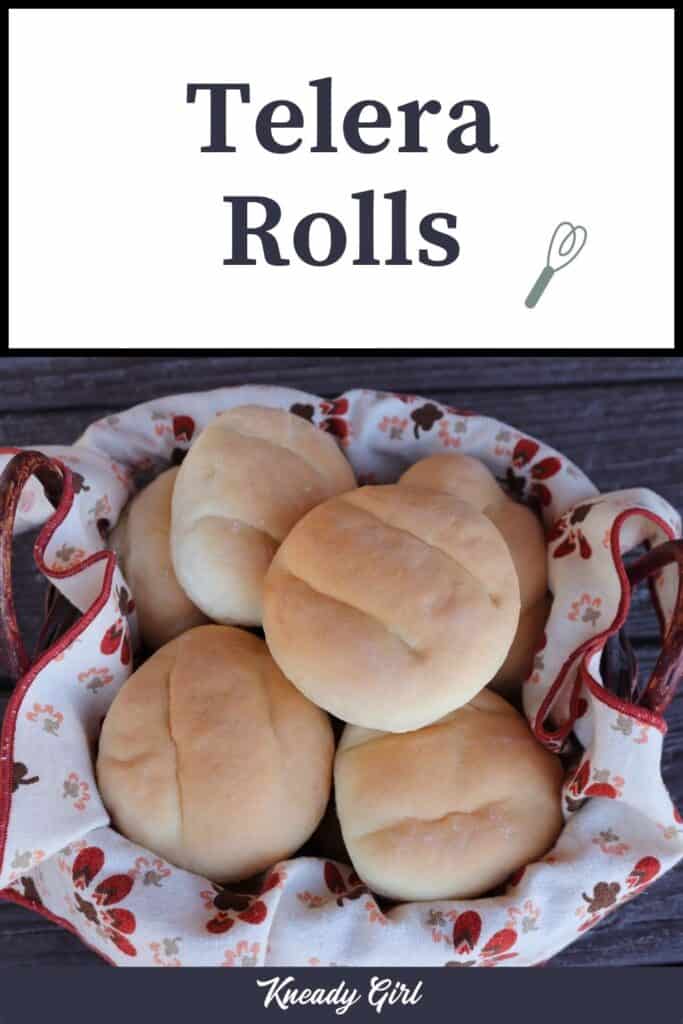
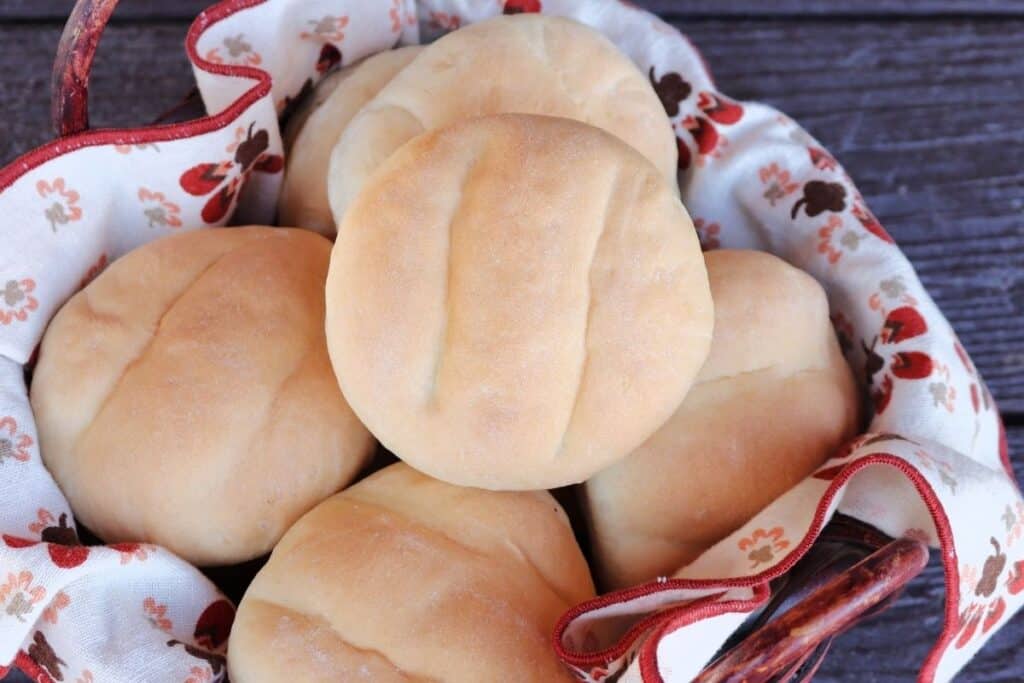
The traditional telera bread roll has a flat oval shape with two parallel lines pressed into the top of each roll.
I read several recipes and it seems most suggested making the lines with the round handle of a wooden spoon. I tried this multiple times and just failed at getting it right. I suppose any long round shape could work, a thin dowel for example.
I did place the flattened rolls onto the baking sheet and then indented, kind of like making peanut butter cookies. Trying to fit the wooden spoon on the baking tray was just awkward.
In the end, I used the edge of palm and pinky finger to make the line. I simply floured my hand well and pressed the edge into each roll twice. This worked perfectly and gave the desired effect. I will admit, I occasionally bent my pinky meaning the lines are not always straight, I’m okay with that.
You don’t want to cut the dough as you’re making the lines, just press down all the way down, so that it’s deep. Some of the depth will be lost as the rolls rise.
Why do the indent lines disappear during baking?
Some fading is normal as the rolls rise and bake — that’s why pressing firmly is important. If your lines are nearly invisible after baking, press more deeply next time and make sure the rolls haven’t over-proofed during the second rise, which causes them to puff and lose definition.
Dividing Dough
When making rolls of any kind, the dough must be divided into equal portions. One could do this by sight but obviously that can be a bit inaccurate. Or a lot inaccurate if you happen to be like me.
Equal size rolls means even baking. Save yourself from overdone and raw rolls on the same tray by using a kitchen scale.
Use a scale, weigh the dough, and divide the total by 12.
When I tested the recipe each roll weighed approximately 2.6 ounces each. If one or two rolls end up off by a tenth of an ounce in either direction, that’s fine.
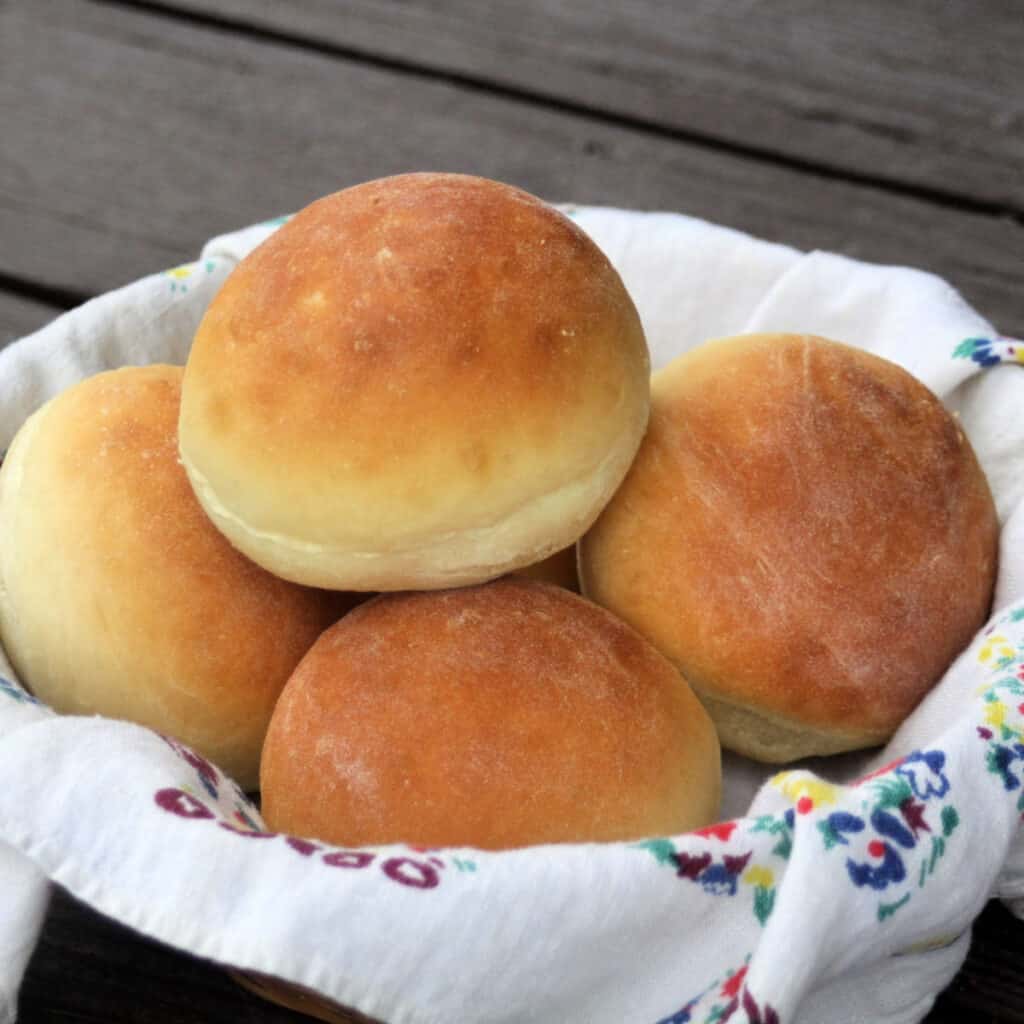
Crispier Crust
If you wanted to give the golden brown crust, even more of a crunch there are a couple of options:
- Gently brush the top of the dough with a little bit of water before baking.
- Spritz the walls of the oven with some cold water to create some steam before placing the baking sheet in the oven.
Extra moisture creates a harder crust while keeping the interior chewy. I’m not sure that would necessarily be traditional but we can all change recipes to suit ourselves and this is an easy way to switch it up.
How to Serve
Obviously enjoy these rolls for the much-loved mexican sandwiches and traditional fillings but know those are not the only uses.
Use them for hamburger buns, we certainly did. They make great and simple cheese sandwiches for lunch boxes or snacks.
If you have a wider toaster, something that can accommodate a bagel, split the rolls in half and toast them for breakfast sandwiches.
For an easy weeknight meal, split and fill them with whatever’s in the fridge — these rolls are sturdy enough to hold up to hearty fillings without falling apart the way softer rolls can. If you’re after a softer dinner roll for the table, these yogurt dinner rolls are a nice alternative.
Troubleshooting
My rolls didn’t rise. Check that your yeast is fresh and that your water was warm but not hot — water above 110°F can kill the yeast. Let the dough rise somewhere genuinely warm; a cold kitchen slows things down significantly. If your kitchen runs cool, try placing the covered bowl in an oven with just the light on.
My rolls turned out dense. Dense rolls usually mean under-proofed dough or too much flour worked in during kneading. The dough should feel soft and a little tacky, not stiff. Give it the full rise time and don’t rush it.
The crust is hard but the inside feels doughy. This usually means the oven was too hot or the rolls were crowded on the pan. Make sure there’s space between each roll for even heat circulation, and check your oven temperature with a thermometer if you suspect it runs hot.
How to Store
The only thing about telera roll leftovers is that they don’t stay fresh for long in my experience.
Keep baked and cooled rolls in a plastic bag or other airtight container at room temperature for about 2 days. After that they just lose their freshness.
Freeze leftovers in a freezer bag or other container for no longer than 6 months. Let thaw at room temperature or warm up in the oven to serve and eat.
Looking for other easy bread roll recipes?
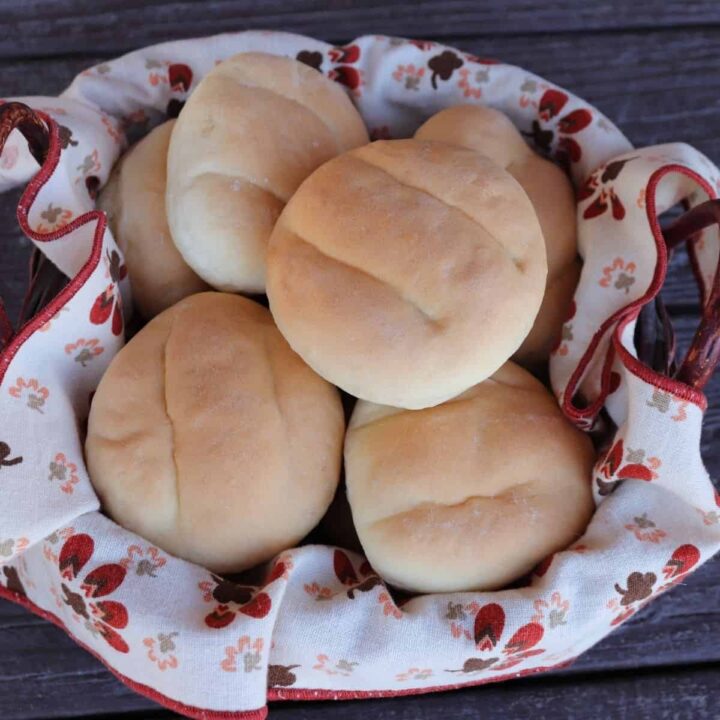
Telera Bread Recipe
Make this easy Mexican telera bread recipe for all your sandwich needs.
Ingredients
- 1 1/2 Cups Warm Water
- 1 Tablespoon Active Dry Yeast
- 2 teaspoons Sugar
- 2 Tablespoons Lard, melted
- 2 teaspoons Salt
- 3 1/2 Cups Bread Flour
Instructions
- In a large mixing bowl, combine the yeast, sugar, and warm water. Let sit until foamy, about 5 minutes.
- Add the melted lard, salt, and 2 cups of bread flour. Using a wooden spoon or dough hook on an electric mixer, mix the dough until it starts to combine. Add remaining flour as necessary to form a cohesive, soft dough.
- Turn out the dough to a floured board and knead until smooth and elastic.
- Place dough inside a greased bowl, turning to coat.
- Cover the bowl with a kitchen towel and let rise somewhere warm until doubled in bulk. Approximately 45 minutes to an hour.
- Grease a large baking sheet or line with parchment paper.
- Punch down the down and turn back out onto a floured work surface. Knead slightly.
- Divide the dough into 12 equal portions, approximately 2.6 ounces each.
- Form each portion into a round, flat shape. Flatten each on the prepared baking sheet.
- Using floured hands, use the edge of your hand to press 2 lines into each roll.
- Cover the baking sheet with a clean towel and let rise in a warm place for about 30 minutes.
- Meanwhile preheat the oven to 400 degrees Fahrenheit.
- Bake the rolls in the preheated oven for 20 minutes or until the crust is a golden brown and the rolls sound hollow when tapped with a knuckle.
- Remove the baking sheet immediately to cool on wire rack.
Nutrition Information:
Yield: 12 Serving Size: 1Amount Per Serving: Calories: 169Total Fat: 3gSaturated Fat: 1gTrans Fat: 0gUnsaturated Fat: 2gCholesterol: 2mgSodium: 355mgCarbohydrates: 30gFiber: 1gSugar: 1gProtein: 5g
I try but cannot guarantee this nutritional information is 100% accurate.

Leave a Reply