

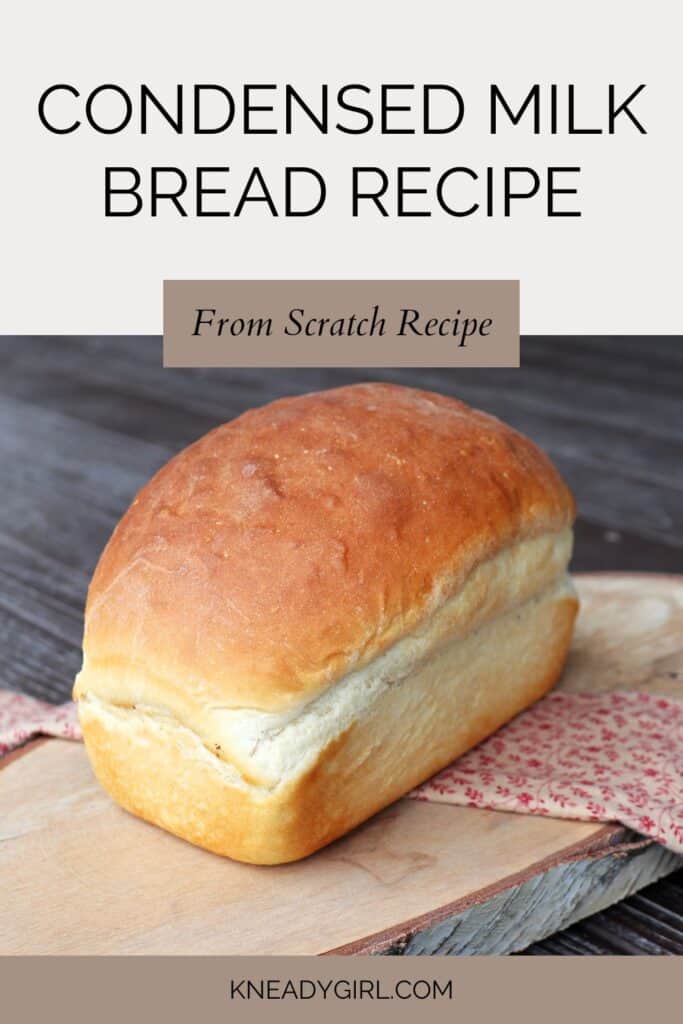
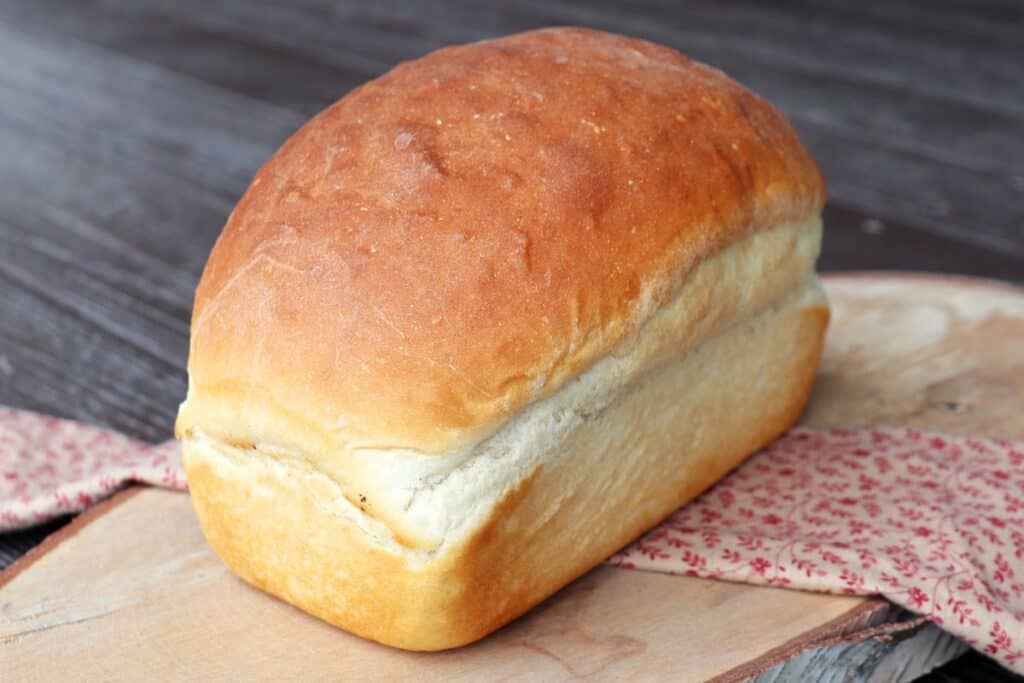
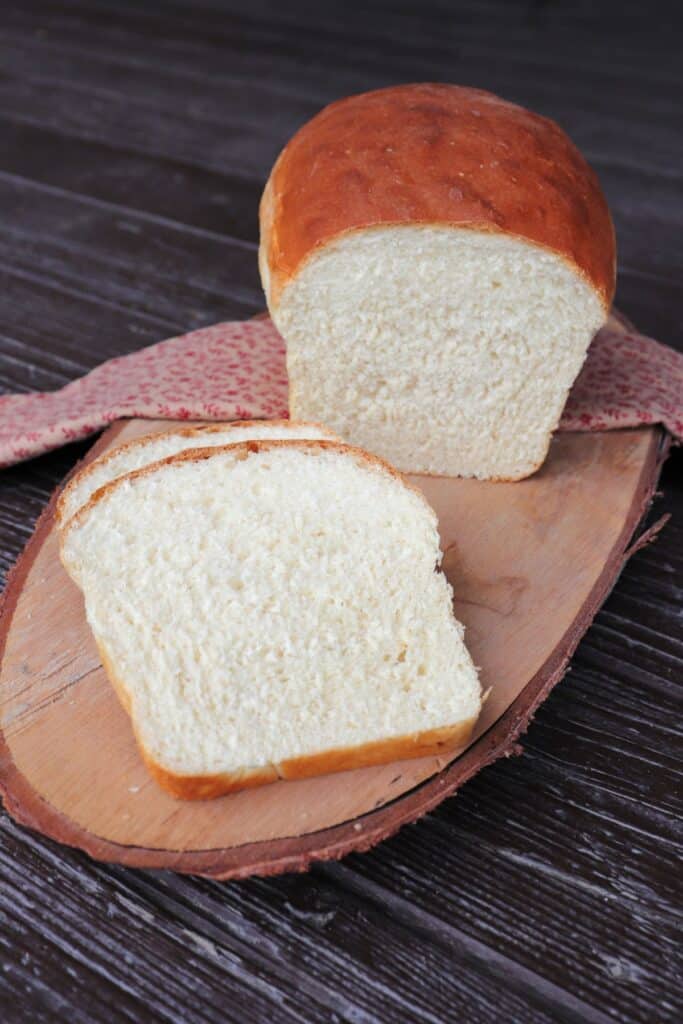
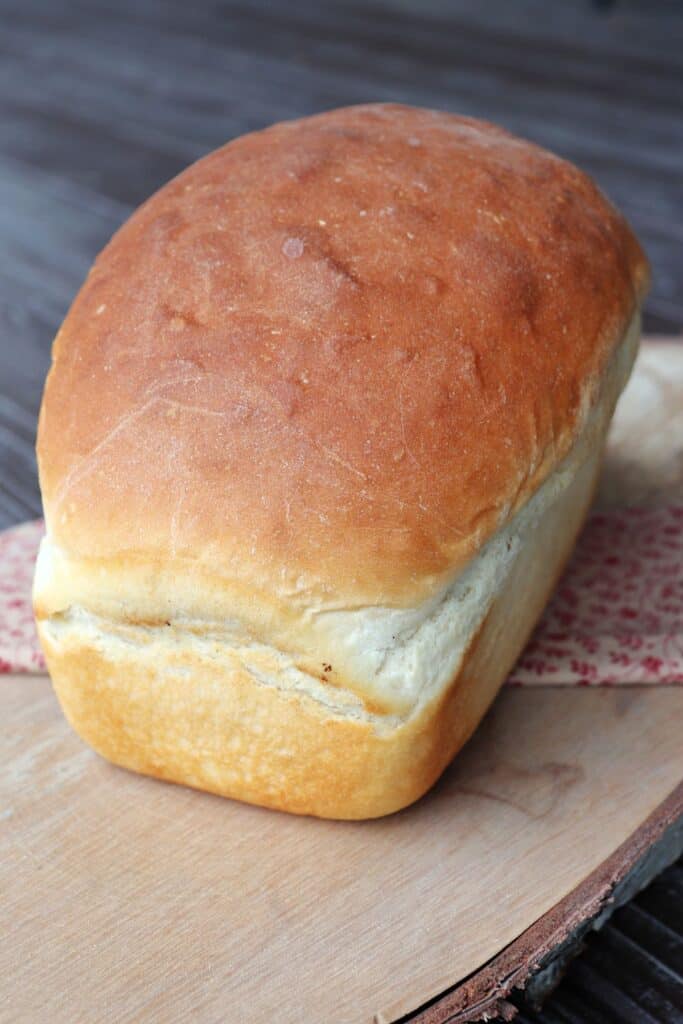
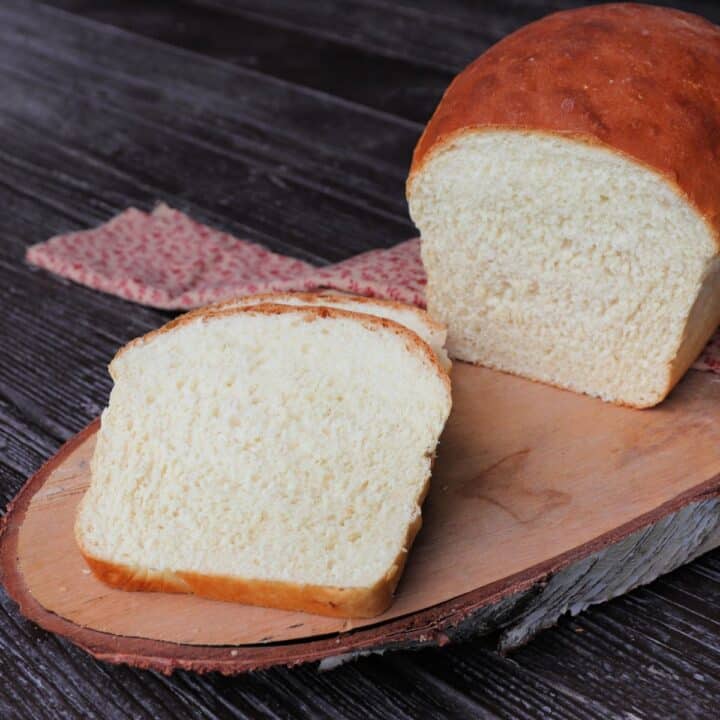
Make this fluffy condensed milk bread for simple and delicious loaves sure to please the whole family.
This homemade bread has a hint of sweetness from the sweetened condensed milk but is savory enough to use for sandwiches, toast, and everyday meals. Soft, fluffy, and made with pantry staples, it’s the kind of bread that disappears quickly.
Whip up this easy recipe for a versatile white bread perfect for meals and snacking.
Flour Choices
I used basic bread flour for ease in this recipe. It provides the perfect balance of softness and light airiness that makes this loaf so appealing.
All-purpose flour could likely be substituted with great success. Some whole grain flour like whole wheat or rye could be substituted, but it will definitely change the texture. If you love a tender, enriched everyday loaf, my Buttermilk Bread is another great option worth trying.
Remember that different flours absorb liquid differently, so add flour slowly, mixing with a wooden spoon, until it pulls together as a cohesive dough.
Sweetened Condensed Milk
This is the most important ingredient in the recipe. There is no substitution that will work as well. It is worth buying a can to make this bread now and then.
A quick note on evaporated milk: sweetened condensed milk and evaporated milk are not the same thing. Sweetened condensed milk is thick, sweet, and syrupy — evaporated milk is thinner and unsweetened. This recipe requires sweetened condensed milk specifically and evaporated milk will not produce the same result.
The recipe only needs 3/4 cup which is not an entire can of condensed milk. I tried several different tests to make this bread with an entire can but it never turned out well.
Feel free to use this as a delicious way to use leftover condensed milk from another recipe if you have it. If you open a can just to make this bread, have a plan for the remaining canned milk so as to not waste it. I’ve used the leftovers to make chocolate chip cookies, stir into coffee, or drizzle over vanilla ice cream. It keeps well in a sealed container in the refrigerator for up to two weeks.
Difficulty Level : Beginner
This is a fairly basic bread recipe that a beginner can feel confident in tackling. It is a sticky dough but that is manageable especially if a stand mixer is used.
If not using a mixer, add cups of flour slowly and knead consistently to get a smooth dough – try avoid adding too much extra flour even though it is sticky.
Shape
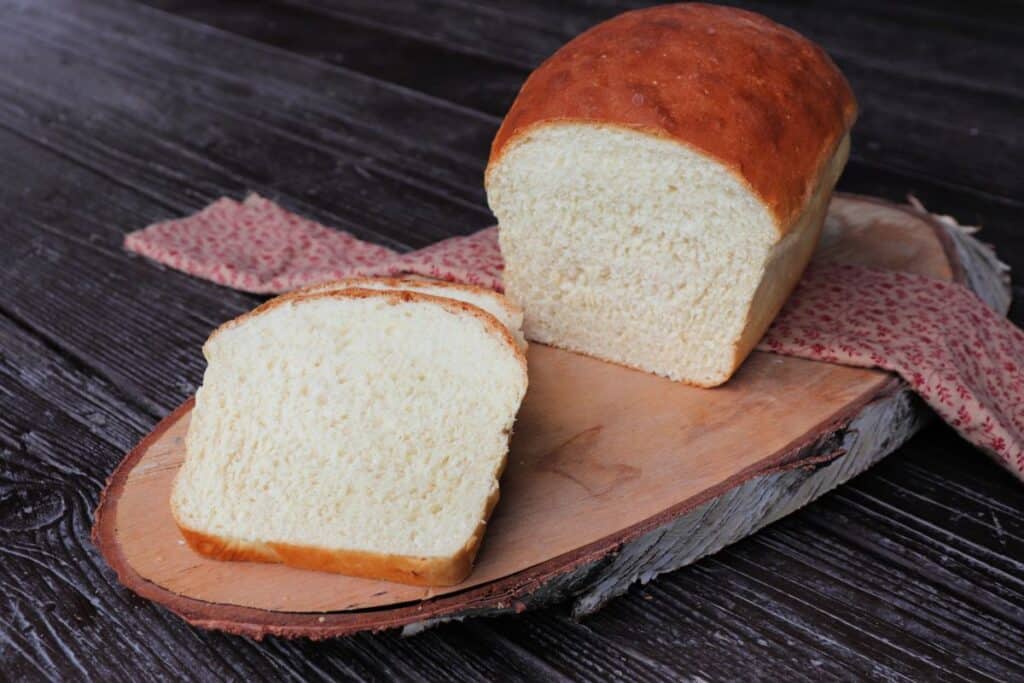
I went with a basic bread pan / loaf shape here. It’s easy and works for a number of different applications.
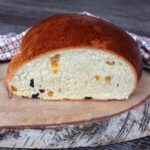
Make it into delicious condensed milk bread rolls by diving the dough into at least 12 and shape into rolls, bake on a baking sheet. Check for doneness earlier than the loaves.
You could also bake them into round loaves on a baking tray. Truly, you could bake them into most any shape you prefer, just check for doneness.
Troubleshooting
The dough is too sticky to work with. This is a naturally sticky dough: that’s part of what makes the finished bread so soft. Resist the urge to add a lot of extra flour. If it’s genuinely unworkable, add flour one tablespoon at a time and knead between additions. A stand mixer with a dough hook makes this dough much easier to handle.
The bread didn’t rise well. Check that your yeast foamed properly in the first step — if it didn’t, start with fresh yeast. Also make sure your water temperature is warm but not hot. Water over 120°F can kill active dry yeast.
The loaves are dense and heavy. Too much flour is the most common cause. Measure carefully and remember that this dough is meant to be softer than a standard bread dough. Also check your yeast, old yeast produces weak rise and dense crumb.
The top is browning too fast. Tent loosely with foil after the first 15–20 minutes if the tops are getting dark before the loaves are baked through. The condensed milk adds sugar to the dough which can accelerate browning.
The bread is gummy inside. The loaves need the full bake time. The tops should be deep golden brown and the loaves should sound hollow when tapped on the bottom. An instant read thermometer inserted into the center should read 190–200°F when fully baked.
How to Serve
These loaves toast up delightfully well. Definitely slather on your favorite nut butter and eat for breakfast.
Serve as a great base for eggs too.
It definitely makes great peanut butter and jelly sandwiches for lunch boxes.
While it is a slightly sweet bread, the soft and fluffy texture makes it great for softer fillings like egg or tuna salad sandwiches.
This is the kind of comforting bread that goes along comforting soups incredibly well. Serve thick slices for dipping.
If you do make this as a condensed milk dinner rolls recipe, serve at any kind of feast or holiday season gathering where they are sure to be devoured.
How to Store
Once the bread has cooled to room temperature, store in an airtight container for up to 5 days.
For longer term storage, place the loaves into freezer bags or wrap in plastic wrap and freeze. You can freeze the loaves whole or slice them and freeze the slices.
Sometimes it’s nice to just grab a slice and stick right it in the toaster for breakfast.
Use up any froze bread within 6 months for best results.
Condensed Milk Bread Recipe
Make this soft and fluffy recipe for a comforting loaf of bread perfect for toast and more.
Ingredients
- 2 Cups Warm Water
- 2 Tablespoons Active Dry Yeast
- 1 Tablespoon Sugar
- 3/4 Cup Sweetened Condensed Milk
- 6 1/2 Cup Bread Flour
- 1 Tablespoon Salt
Instructions
- In a large mixing bowl, combine warm water, yeast, and sugar. Let sit until foamy, 5-10 minutes.
- Add the condensed milk and 2 cups flour. Mix until thoroughly combined.
- Stir in the salt and continuing adding flour until a soft dough begins to form. This is a sticky dough, try not to add too much additional flour to avoid stickiness.
- If using a stand mixer with a dough hook, keep mixing until the dough cleans to the hook and cleans the sides of the bowl.
- Once the dough is formed, turn dough onto a floured surface and knead until an elastic and smooth dough is formed.
- Grease the bowl and put the dough inside, turning to coat.
- Cover the bowl with a towel and let sit in a warm place. Let dough rise until doubled - about an hour.
- Grease 2 bread pans.
- Punch down the bread dough and knead slightly. Divide the dough into 2 equal pieces and knead each half on a floured working board.
- Form into 2 loaves and place each loaf of smooth dough seam side down in the loaf pans.
- Cover the pans with a clean kitchen towel and set in a warm place for the second rise. Again, let rise until doubled, about 30 minutes.
- Meanwhile, preheat the oven to 350 degrees Fahrenheit.
- When the dough has risen, place the loaves into the pre-heated oven and bake for approximately 30 minutes. The tops will be golden brown and the loaves will sound hollow when tapped with a knuckle.
- Remove from the pans and cool on wire racks.
Nutrition Information:
Yield: 32 Serving Size: 1 sliceAmount Per Serving: Calories: 127Total Fat: 1gSaturated Fat: 0gTrans Fat: 0gUnsaturated Fat: 0gCholesterol: 2mgSodium: 209mgCarbohydrates: 25gFiber: 1gSugar: 4gProtein: 4g
I try but cannot guarantee this nutritional information is 100% accurate.

Even with my issue of finding out my kids had used all our bread and all purpose flour and having to last minute sub cake and whole wheat this turned out delicious! Can’t wait to try it with the right flour!
I’ve only been making bread at home now for about 6 months, but I have to say, of all the recipes I’ve tried, this one is the best. I was reminded of my childhood so many years ago while the loaves were baking. There was a Sunbeam bakery in town when I was young and you could smell the bread from any corner in town. Really brought back some good memories from the past and the taste….AWESOME!!!
W0NDERFUL! This head is delicious and much healthier than store bought bread with all the preservatives and stabilizers in them. It makes a heck of a raise. Bread too with only liminal additions. Thanks so much for encouraging people to go back to our roots at least a little! And eating and baking home made bread is such a delightful pastime!
I make this recipe weekly I also freeze one loaf so that we always have fresh homemade bread this one thaws well and still tastes fresh afterwards I have tried many different bread recipes and this one is my husbands favorite