
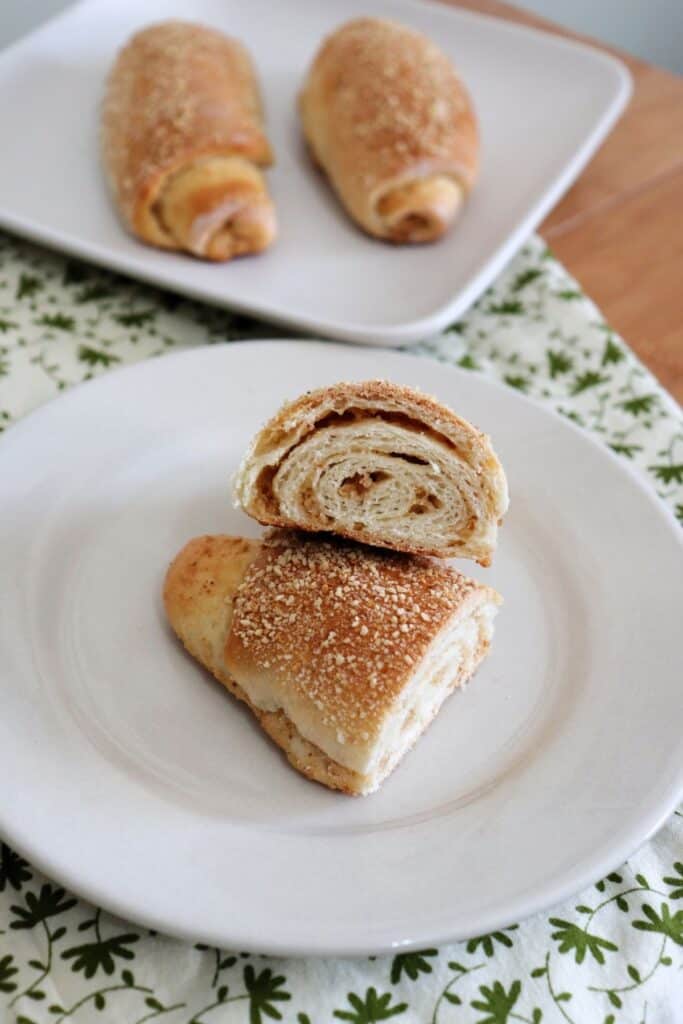
Make Señorita bread for a delicious and addicting snack or brunch treat.
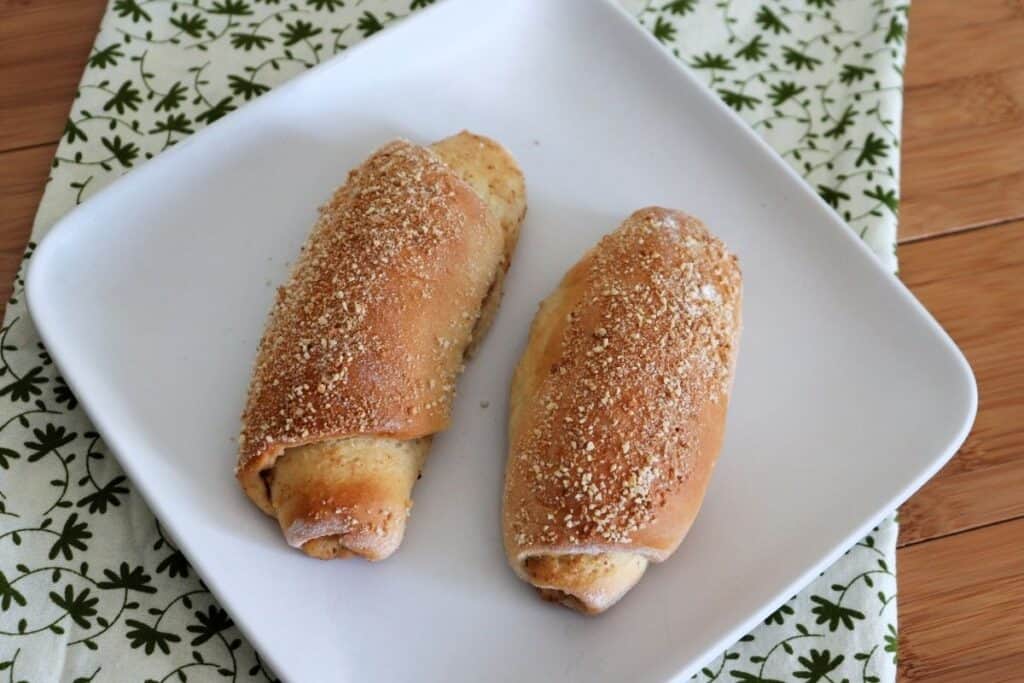
These oblong rolls are sure to become a family favorite in no-time, perfect for simple meals, packed lunches, pot lucks and more.
A Filipino Spanish Bread
I first read about Senorita bread in a short story and quickly went about finding a recipe to give it a try.
As is my usual way, I looked at a bunch of different recipes and kind of combined them all into what worked best for me and the ingredients I had on hand.
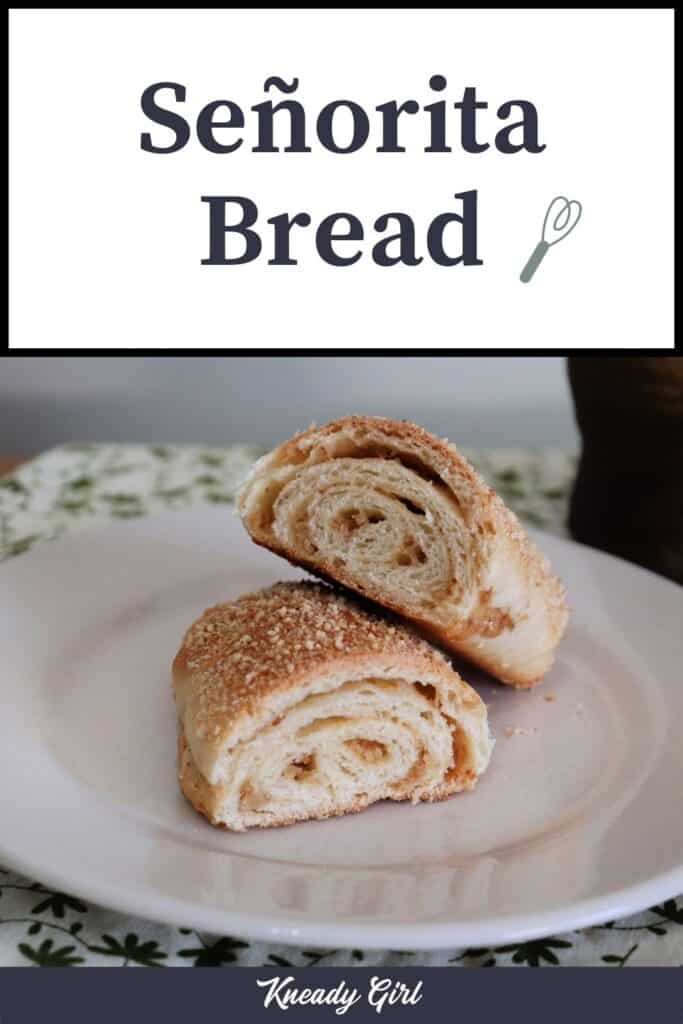
It’s a fluffy sweet bread dough rolled around a sweet buttery filling that can quickly become addicting. Trust me, so addicting.
Simple Ingredients
Like most delicious, homemade breads the ingredients are quite simple and yet combine in the most miraculous tasty ways.
Make sure to use dry bread crumbs in both the filling and topping. It’s fine to use homemade just make sure they are very dry – the added moisture from something partially dry will affect the texture.
Store bought, unseasoned bread crumbs will work just fine as well.
I used salted butter throughout the dough and filling and skipped any additional salt in the bread dough. If you use, unsalted butter add at least 1/2 teaspoon of salt to the bread dough for flavor enhancing.
I used white sugar throughout but I do think a brown sugar filling would be quite delicious and look forward to trying that next time.
Multiple Steps
This spanish bread recipe has multiple steps but none of them are particularly difficult.
Do make the filling while the bread dough is on it’s first rise so that it has time to cool. And be sure to watch the filling, stirring almost frequently. Walk away for a just a minute to see what the kitten is destroying now will result in crunchy fried bits that are not the texture you want inside a soft bread roll. Ask me how I know.
And make sure to do the extra bit of kneading fluffy, delicate rolls. You’ll be glad you did.
Different Sizes
The recipe is written to make a total of 12 sweet bread rolls. However, you could adjust the sizes as desired.
Make bigger or smaller sizes depending on how you want to serve them.
Obviously increase the baking time for larger rolls, decrease for smaller.
One could likely do different shapes as well, make them round for a type of cinnamon roll shape, in my research it seemed the log shape was most common.
How to Serve
This is not the kind of bread that I would eat with say a bowl of soup. However, they are amazing with a cup of coffee or tea for an afternoon snack.
Do serve it as a part of a brunch spread with eggs and fruit for a little something different.
Definitely tuck them into lunch boxes as a kind of mid-afternoon sweet treat.
These delicious bread rolls are amazing when warm, in my opinion. Reheat in the microwave quickly or wrap in aluminum foil and reheat in a 350 degree oven for 15 to 20 minutes.
How to Freeze
You can freeze this fluffy spanish bread but do know that it dries out quickly.
Place the cooked and completely cooled rolls into airtight bags and freeze.
When ready to serve, do reheat the delicious bread roll as instructed above.
Use up the frozen bread within 6 months for best flavor and moistness.
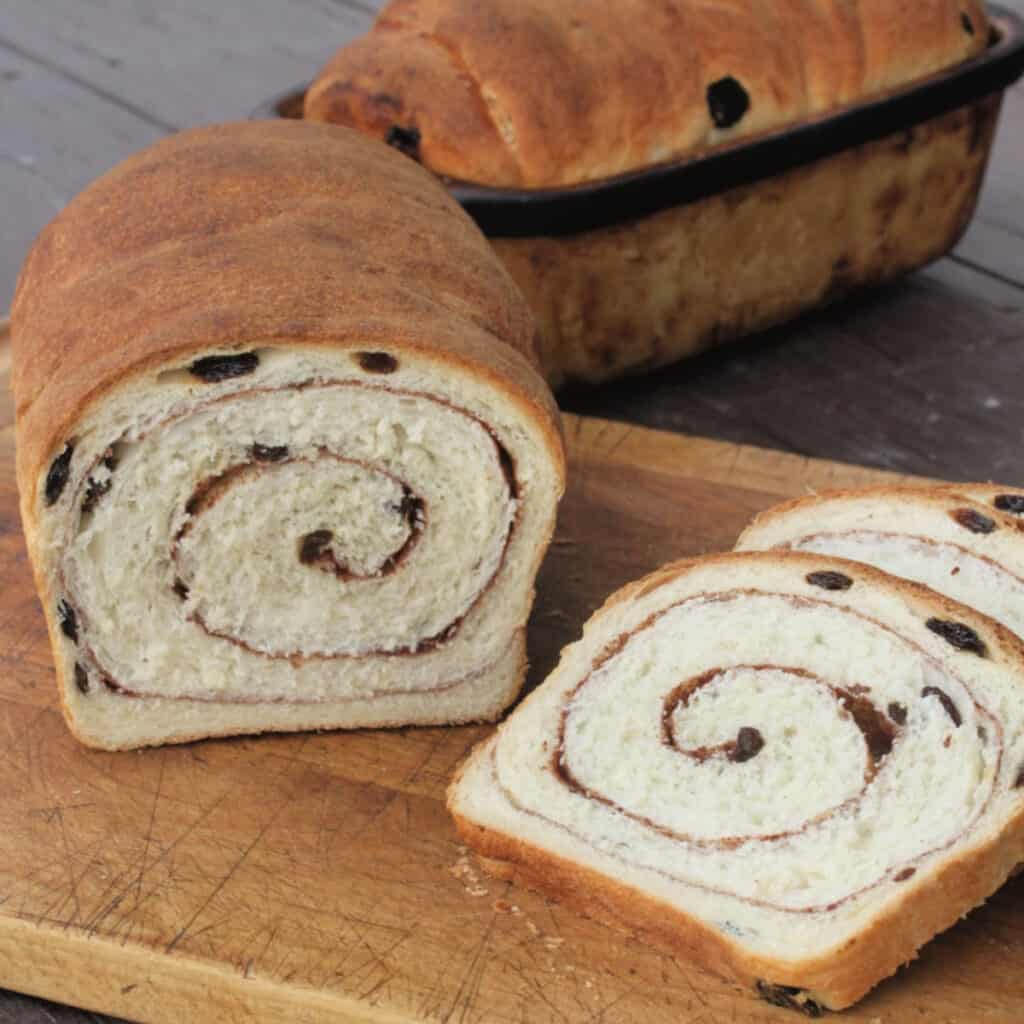
Looking for more sweet bread recipes?

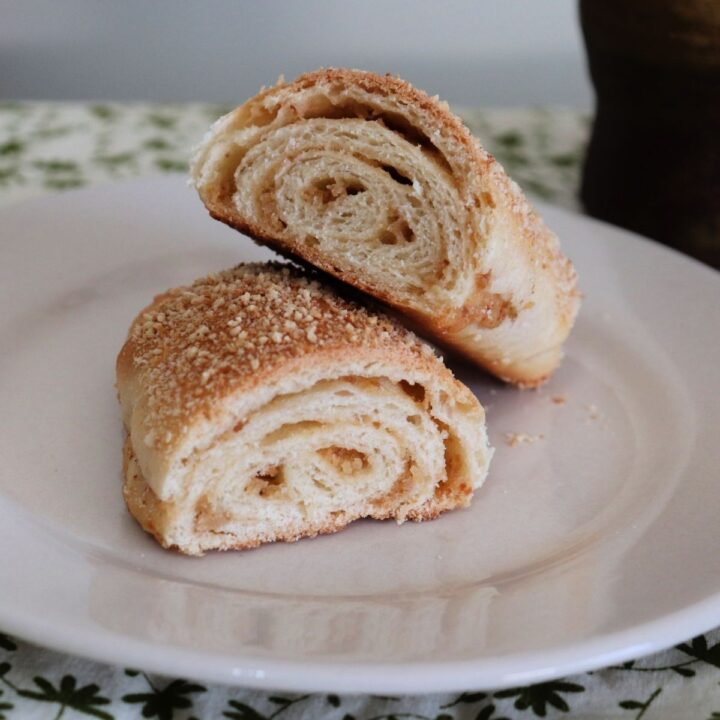
Señorita Bread Recipe
Make this easy senorita bread recipe for extra special brunches and snacking.
Ingredients
Bread Dough
- 3/4 Cup Milk
- 1/4 Cup Salted Butter
- 3 Tablespoons Sugar
- 1 Tablespoon Dry, Active Yeast
- 1/4 Cup Warm Water
- 3 Cups Unbleached, All-Purpose Flour
Filling
- 2 Tablespoons Unbleached, All-Purpose Flour
- 1/4 Cup Salted Butter
- 1/3 Cup Breadcrumbs
- 1/2 Cup Sugar
- 1/2 Cup Milk
Topping
- 1 Tablespoon Milk
- 1/3 Cup Breadcrumbs
Instructions
Make the Dough:
- In a small saucepan, combine milk and butter. Heat just until the butter is melted.
- Add the sugar to the milk mixture and stir well. Let sit until the temperature is about 110 to 115 degrees Fahrenheit.
- In a large mixing bowl, combine the yeast and water. Let sit until foamy, about 5 minutes.
- Add the milk mixture to the yeast mixture and stir well.
- Stir in the flour and mix with a wooden spoon until a dough forms.
- Turn the dough out to a floured surface and knead until a smooth elastic dough is formed.
- Grease a bowl and place the dough ball inside, turning to coat. Cover the bowl with a tea towel and let rise 30 minutes.
- Turn the dough out onto a floured board and knead for just a few minutes. The dough will be elastic and bubbly.
- Put the dough back into the greased bowl and cover with the kitchen towel again.
- Let the dough rise until doubled, 30 to 45 minutes.
Make the Filling:
- In a small saucepan over medium-high heat toast the flour for about 5 minutes, it will actually smell toasty.
- Add the butter, sugar, and breadcrumbs. Stir it all together until the butter is melted and everything is thoroughly combined and the sugar is starting to melt.
- Pour the milk into the pan and stir constantly until thickened.
- Remove from heat and set aside to cool to room temperature.
Form the Rolls:
- Grease a baking sheet or line with parchment paper or a silicone baking sheet.
- Pour the milk into a small bowl and set aside with a pastry brush.
- Pour the breadcrumbs into a wide bowl or onto a plate.
- Punch down the dough and knead slightly.
- Divide the dough into 12 equal portions, they'll weigh about 2.1 ounces each.
- Using a rolling pin, roll each portion into an oval shape about 8 inches long and 4 inches wide.
- Spread each oval with a slightly heaping Tablespoon of the filling.
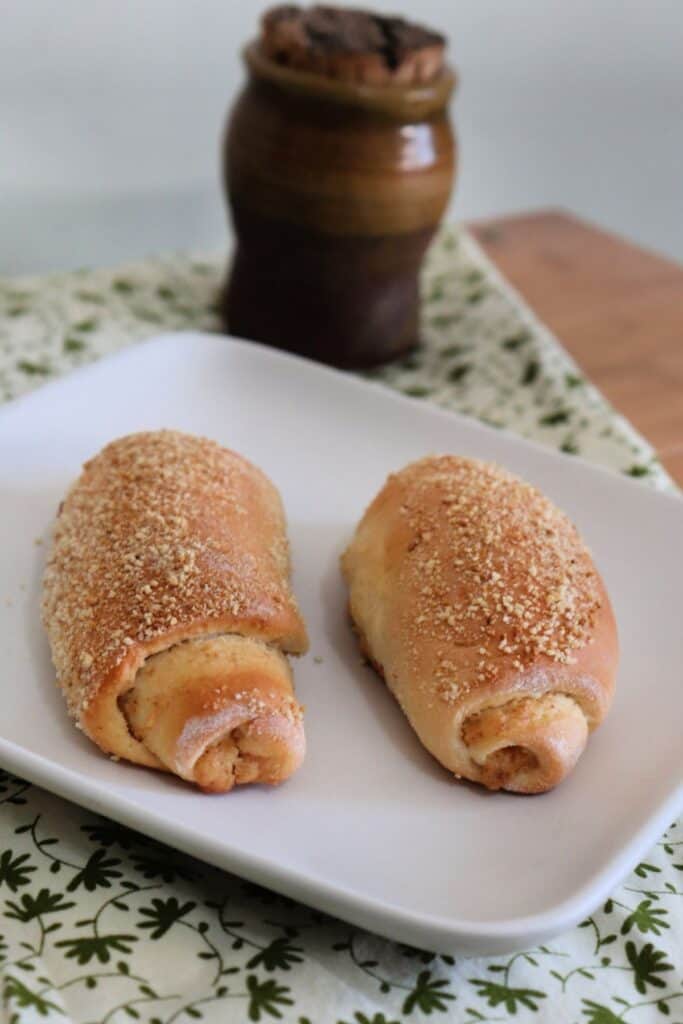
- Roll the oval up into a log shape from the short end.
- Brush the top of the roll with a bit of milk and roll in the breadcrumbs.
- Place the roll onto a greased baking sheet crumb-side facing up, seam side down.
- Repeat for each roll.
- Let rise until doubled, 45 to 60 minutes.
- Preheat the oven to 350 degrees Fahrenheit.
- Bake the risen rolls into the oven for 20-25 minutes, until golden brown.
- Place the rolls onto wire cooling racks and let cool for at least 15 minutes before serving.
Nutrition Information:
Yield: 12 Serving Size: 1 rollAmount Per Serving: Calories: 271Total Fat: 9gSaturated Fat: 5gTrans Fat: 0gUnsaturated Fat: 3gCholesterol: 22mgSodium: 118mgCarbohydrates: 42gFiber: 1gSugar: 13gProtein: 6g
I try but cannot guarantee this nutritional information is 100% accurate.
I had some issues with the filling consistency in my first batch of Señorita bread too! This recipe – https://www.simplerecipebox.com/senorita-bread-recipe-unlocks-secret-to-fluffy-perfection/ helped me get that perfect, fluffy texture. Adding milk and reheating the filling saved the day.