

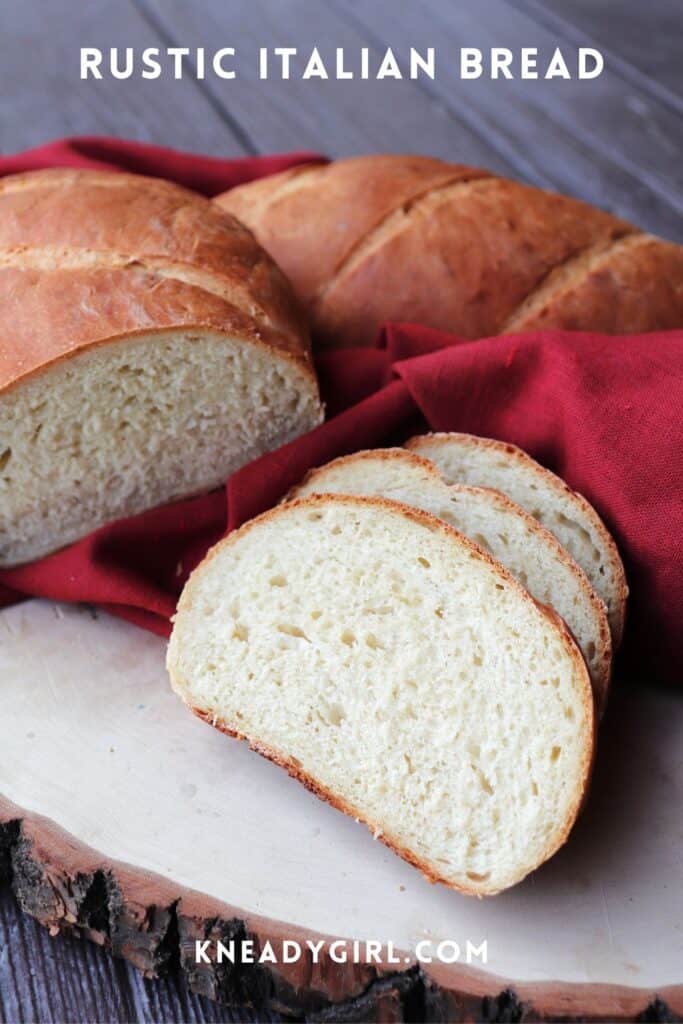
Make an easy rustic Italian bread with just a few very basic staple ingredients. that will have everyone at the table coming back for more!
This delicious bread is perfect for serving as a side dish to most any meal.
While it is indeed rustic, that should not be confused with boring, yes this is a basic Italian bread but it is delicious and something everyone at the table will fawn over.
Simple Ingredients
Like every basic recipe for bread – you’ll need yeast, water, salt, and flour. I added some sugar to help the yeast get really active and a bit of olive oil rounds out this Italian Bread Recipe.
I used extra virgin olive oil because that’s generally what I have on hand – I think you can any and have great results, so use what’s on hand.
It is the simplicity of this recipe that makes it simultaneously rustic and wonderful – it is the kind of recipe you’ll want to make again and again.
Flour Choices
For the sake of ease, this recipe was written using all-purpose flour, however; that’s not your only choice.
Feel free to substitute bread flour instead.
Want some whole grain? Substitute some or all of the all-purpose for whole wheat flour. Rye, spelt, pumpernickel could all be used as well.
Please note, however that different flours absorb water differently, start small and spoon in additional flour as necessary to form an elastic dough
Difficulty Level – Beginner
Rustic bread is ideal for beginners – there’s nothing fancy here and the fact that the word ‘rustic’ is contained in the recipe title means we can embrace less than perfect shaping.
This is truly one of the easiest bread recipes and it can be done without a bread pan, all you need is a mixing bowl and a cookie sheet to make this great recipe.
And while it is indeed beginner friendly, it the kind of recipe that experienced folks will turn to again and again because it’s so low-fuss and high-taste.
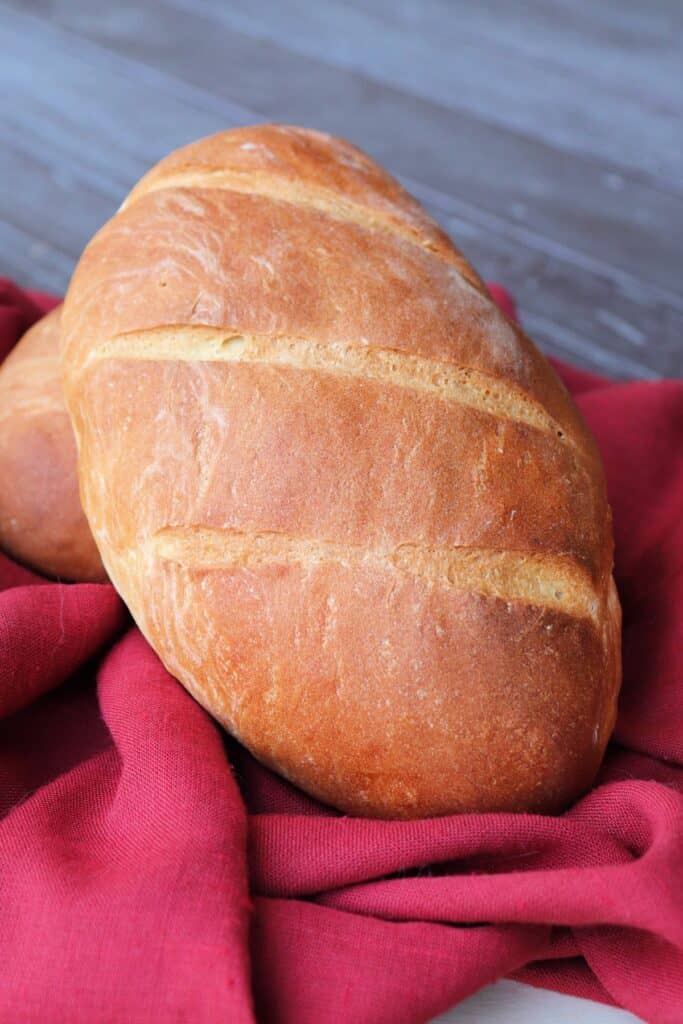
Bread Shape
One of the great things about homemade bread is that you can truly make it in any shape you prefer or for which you have the pans.
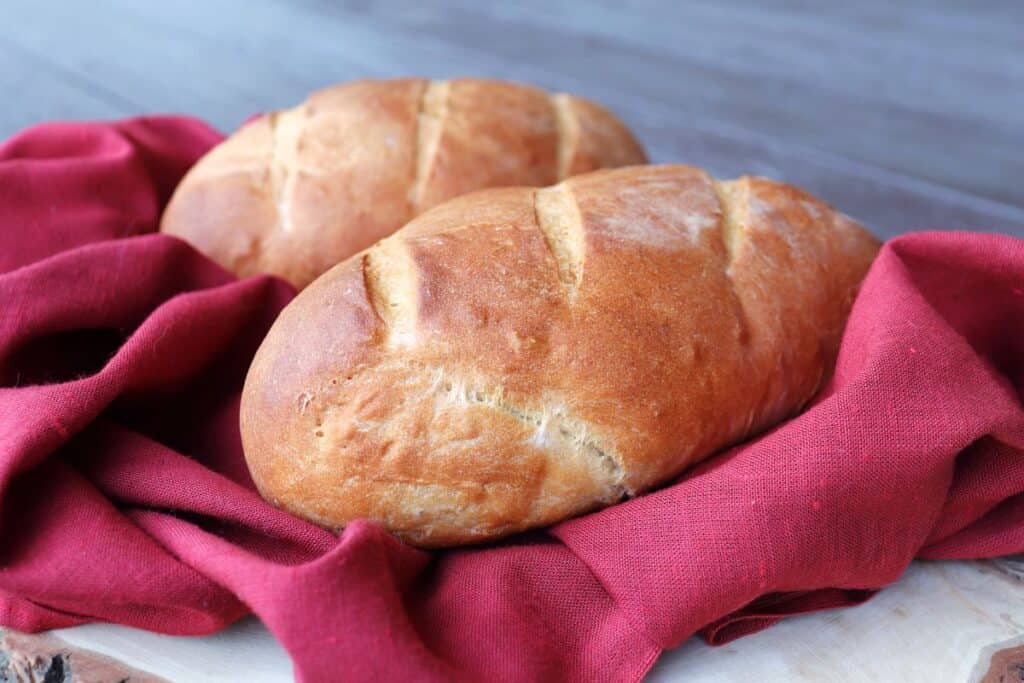
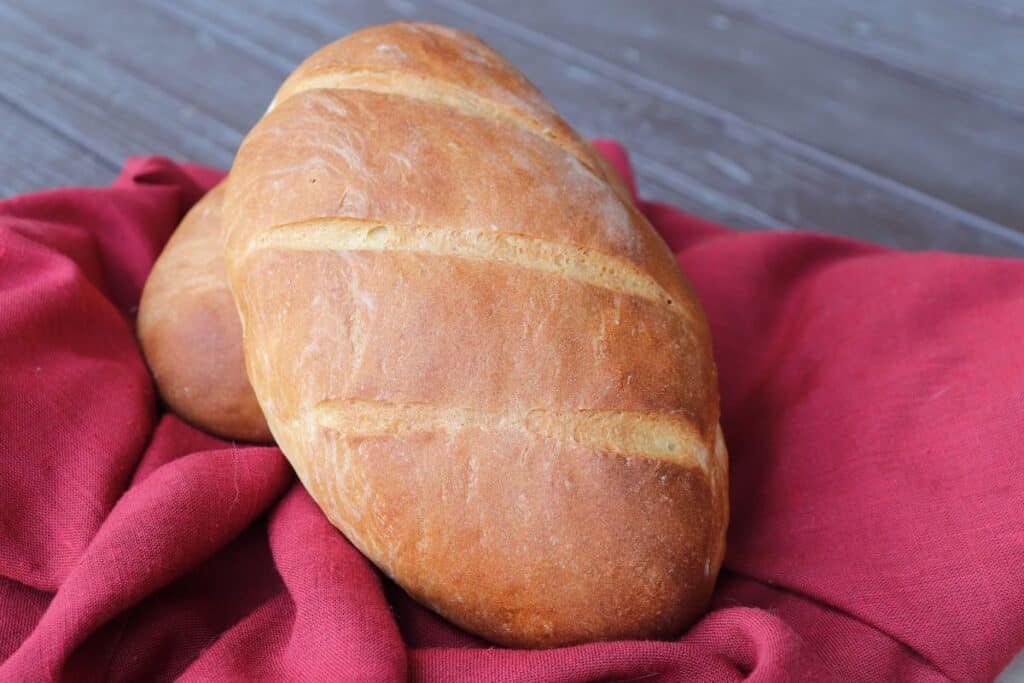
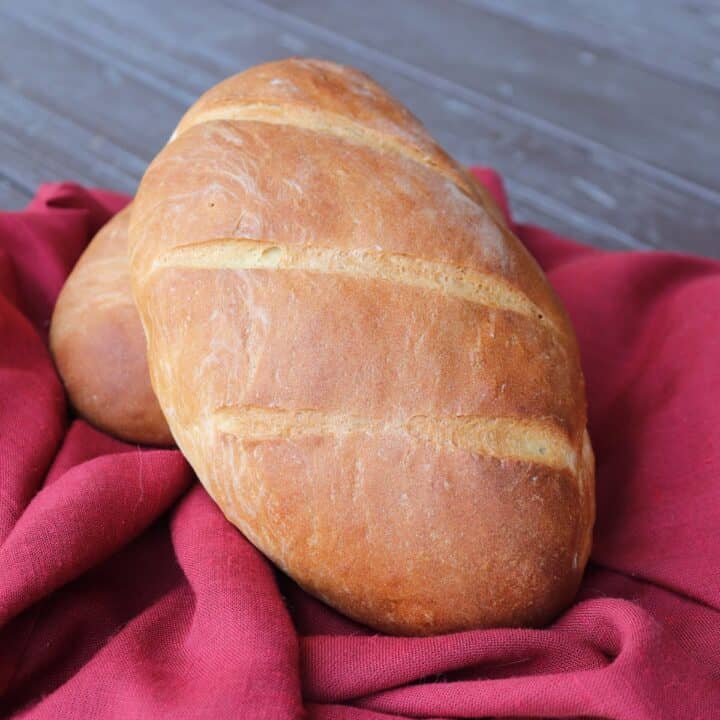
Growing up my family always called wide oblong loaves, Italian Bread, it’s for that reason that I often shape it that way.
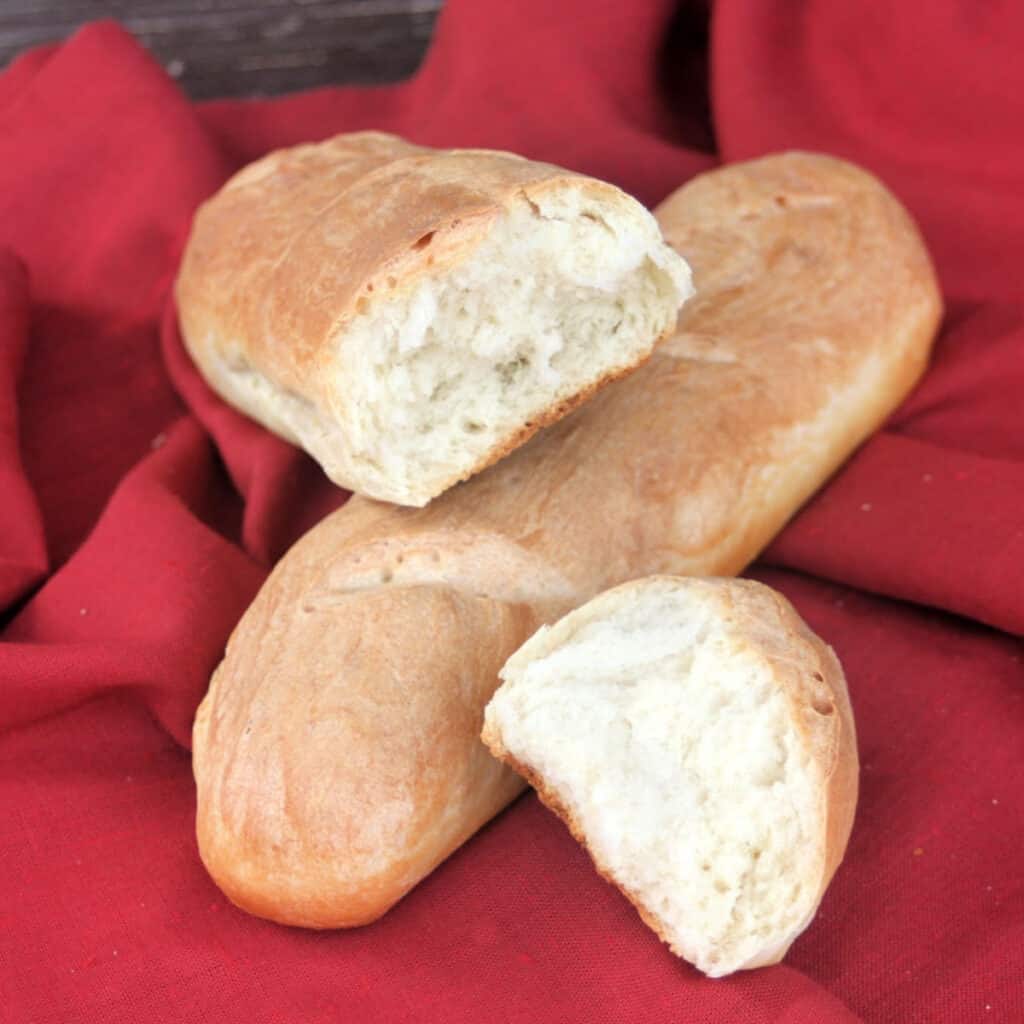
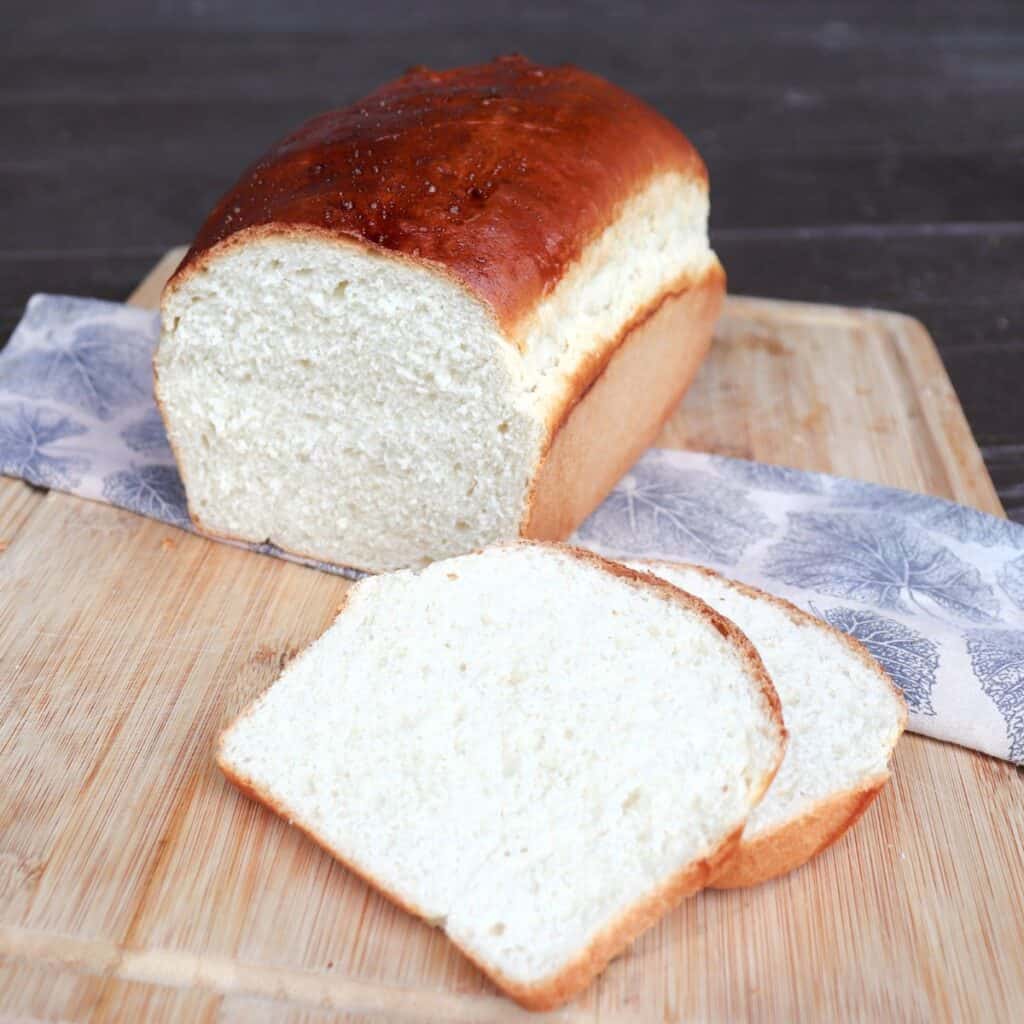
However, you can feel to shape it long and thin like a French Batard, or do simple round loaves. You can also shape them into individual rolls. Use bread pans, if you’d prefer that for a more traditional sandwich bread.
As always if you change the shape or size, watch the baking time a bit more closely.
For Crusty Bread
Want a crisp crust? Add some moisture to the cooking process.
Right before the tray goes into the even brush loaf with water. Simply use a pastry brush and lukewarm water.
Alternatively, you can spray the oven walls with water and close the door quickly.
Cooking the bread on a pizza stone can also help but it is the moisture that will give you crusty Italian bread.
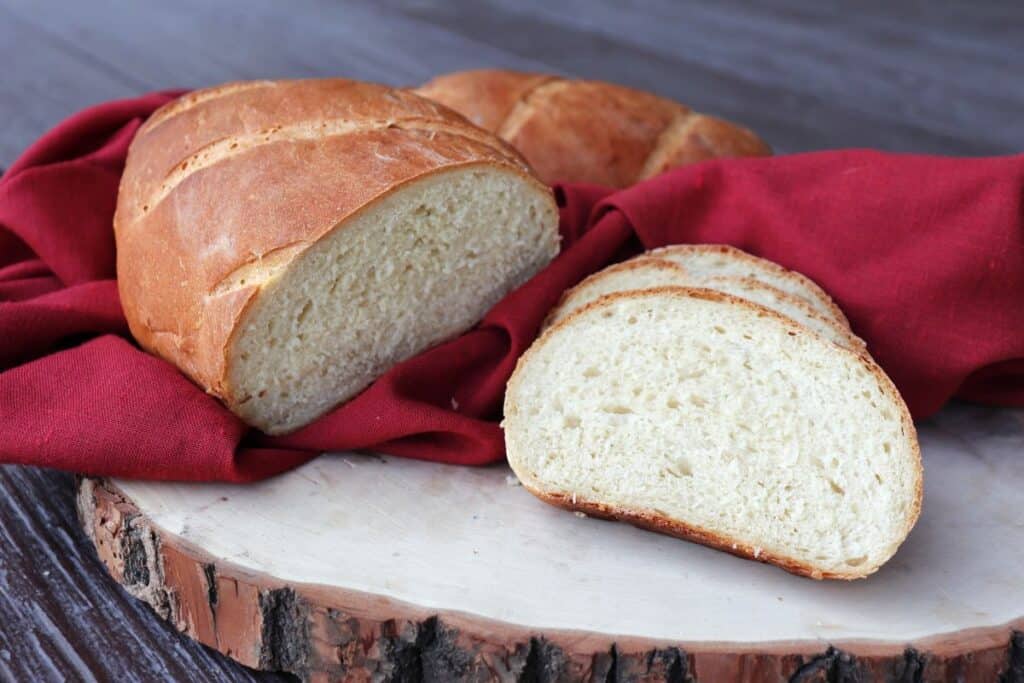
How to Serve
This is a perfect bread to serve at every meal and that is no exaggeration.
It’s wonderful sliced and toasted alongside eggs for breakfast, use leftovers for fresh toast.
Slice it for fun and delicious peanut butter and jelly sandwiches to tuck into lunch boxes.
This is the perfect bread to serve alongside rustic soups, like Tomato Gnocchi Soup, to absorb all the tasty goodness. Serve it at feasts and more.
How to Store
Store any leftovers in a plastic bag or other airtight container. The bread should stay fresh for up to 4 days when kept at room temperature.
For longer term storage, place loaf in freezer bag or other freezer container and freeze. Thaw frozen bread at room temperature before slicing and serving.
Use up any frozen bread within 6 months to prevent freezer burn and for best flavor.
Looking for more easy white bread recipes?
Rustic Italian Bread Recipe
Make this basic bread recipe for a rustic Italian flair that will have everyone reaching for a second (or third) slice!
Ingredients
- 1 Tablespoon Dry, Active Yeast
- 2 Tablespoons Sugar
- 1 Cups Warm Water
- 4 1/2 Cups Unbleached, All-Purpose Flour
- 2 Tablespoons Olive Oil
- 1 Tablespoon Salt
Instructions
- In a large mixing bowl (or the bowl of a stand mixer), whisk together the water, yeast, and sugar. Let sit until foamy, about 5-10 minutes.
- Add 2 Cups of flour and mix with a wooden spoon. Add the salt, olive oil, and 1 more cup of flour.
- Continue adding flour and stirring until a soft dough begins to form. If you're using a dough hook on your stand mixer, the dough will begin to clean the sides of the bowl.
- Turn out onto a floured board and knead until smooth and elastic.
- Grease a large bowl, place the dough inside the bowl, turning to coat.
- Cover with a tea towel and let rise about an hour.
- Grease a baking sheet or line it with parchment paper.
- Punch down the dough and turn it out onto floured board and knead slightly.
- Divide the dough in half - forming approximately two 1-pound pieces of dough.
- Knead each piece and shape dough into a fat, oblong shape and place on prepared sheet pan.
- Cover the cookie sheet with a clean towel and put in a warm place to rise a second time. Let dough rise 30-45 minutes, until doubled.
- Meanwhile preheat the oven to 400 degrees Fahrenheit.
- Before placing in the oven, slash the top of the dough with a razor blade. You can do this in any pattern or shape you desire - I usually just do simple slashes across the surface.
- Bake in the preheated oven for 30-35 minutes or until golden brown and the loaves sound hollow when tapped with a knuckle.
- Remove from the baking sheet to cool completely on wire rack.
Nutrition Information:
Yield: 24 Serving Size: 1 sliceAmount Per Serving: Calories: 101Total Fat: 1gSaturated Fat: 0gTrans Fat: 0gUnsaturated Fat: 1gCholesterol: 0mgSodium: 266mgCarbohydrates: 19gFiber: 1gSugar: 1gProtein: 3g
I try but cannot guarantee this nutritional information is 100% accurate.

I made the bread it turned out to be alright but overall it needs a little bit more work and have a lower timer set to it for a desirable bread texture.
I’ve been baking bread for years but decided to try this recipe and I’m glad I did. I’ve never made Italian bread before and this was a great recipe to start out with. The only thing I did differently was instead of using water for a crunchier crust, I brushed the loaves with olive oil before baking which gave them a nice light crunch to the crust. This recipe is a keeper.
Hi, I am going to try this recipe but I want to know if I can use rapid rise instant yeast.
Thank you
Honestly, I’ve never tried. I imagine so but can’t say with 100% confidence.