

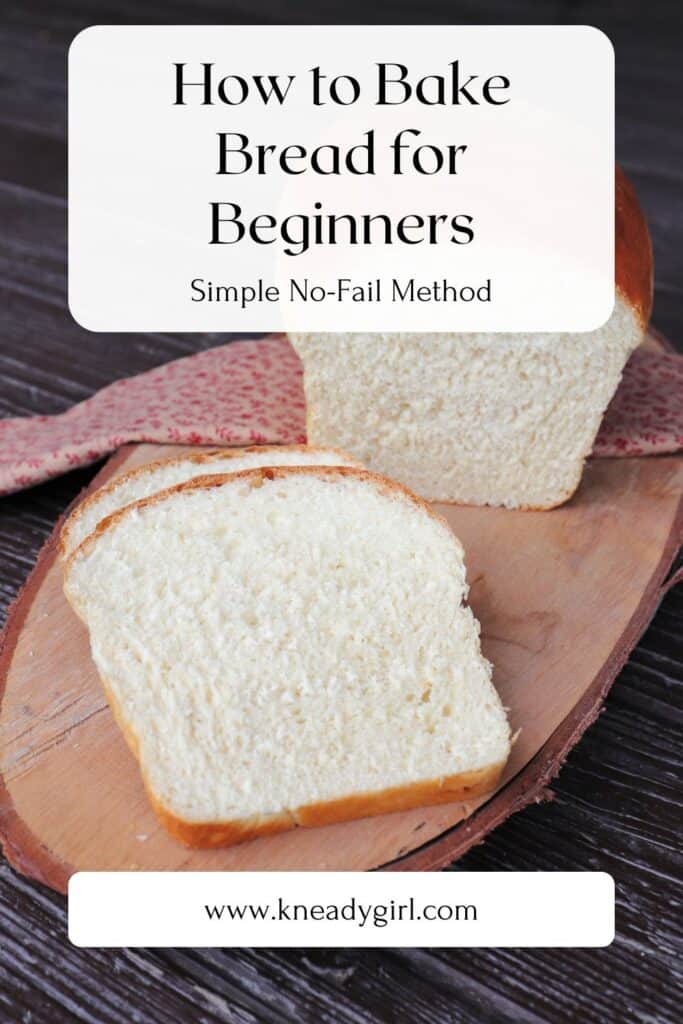
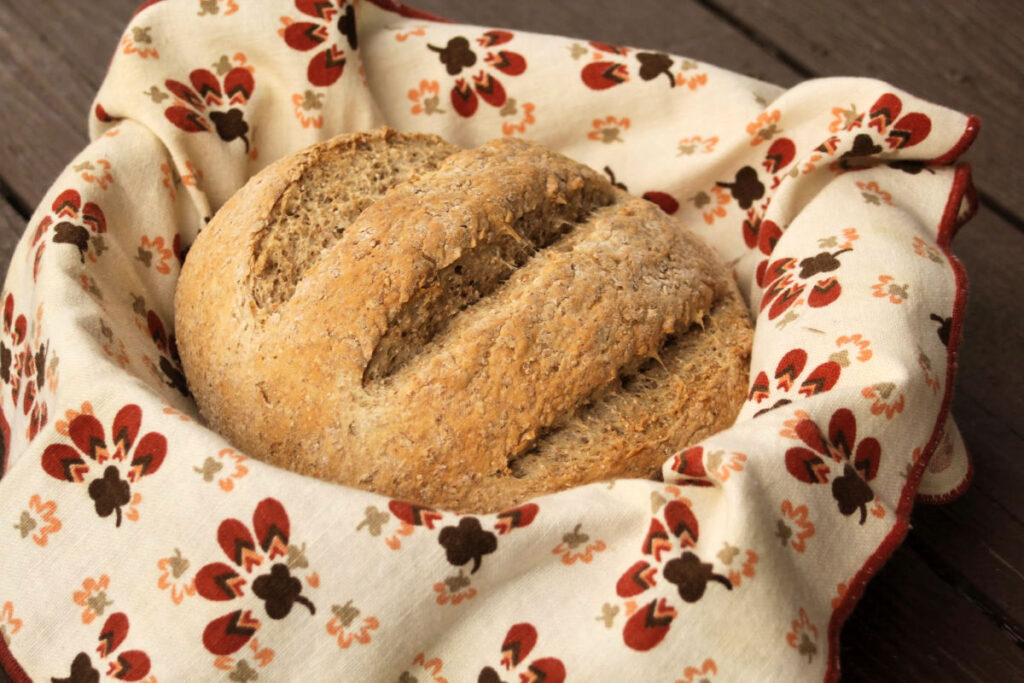
Learning how to make homemade bread is much easier than many of us are led to believe.
By using an easy bread recipe, a few ingredients and basic kitchen equipment you can have a homemade loaf of bread on your table in just a couple of hours.
It can be time-consuming but that does not mean difficult by any stretch of the imagination. Most of the time involved is simply letting the dough rise and bake, actual hands-on time is small.
If you’d rather let a machine do the kneading and rising for you, this white bread machine loaf is the easiest possible starting point.
Basic Bread Ingredients
Bread contains – yeast, water, salt, and flour. That is all that is needed to get started.
Options to customize and flavor it up abound but start with the basics and get the hang of the process before trying different things.
An exact, simple bread recipe is included below to help you get started.
Once you’ve got the basic loaf down, this whole wheat Italian bread is a natural next step — same simple technique with a little more flavor.
The Basic Equipment
We don’t need fancy mixers or even bread pans to make bread. The mixer might make the work a bit easier but it’s not necessary.
These are the basic things needed for baking bread and most kitchens already have these:
- Measuring Cup
- Measuring Spoon
- Large Bowl
- Wooden or Large Spoon
- Your Hands
- A towel
- A sharp knife or razor blade
- A baking sheet, bread pan, or baking stone
- An oven
These basic things will get you a tasty and beautiful loaf of bread.
Getting Started
The water should be warm in the 110 to 115 degree Fahrenheit range for optimum bread. Most taps get that hot without having to warm up the water on the stove. Use a thermometer until you have enough practice to judge by feel.
Pour that water into a bowl, add the yeast, and stir gently. Let that sit for about 5 minutes, the yeast will dissolve and the mixture will get foamy.
Now it’s time to add the flour and salt.
Add just a cup or two of flour and the salt. Mix it together and continue adding flour until the mixture begins to form a dough.
Use a wooden spoon or spatula of some kind to do the mixing, it might take some time, be patient.
If using a stand mixer with a dough hook, the dough will cling to the hook and pull away from the sides of the bowl.
Once the dough begins to form it will be a sticky mass at first.
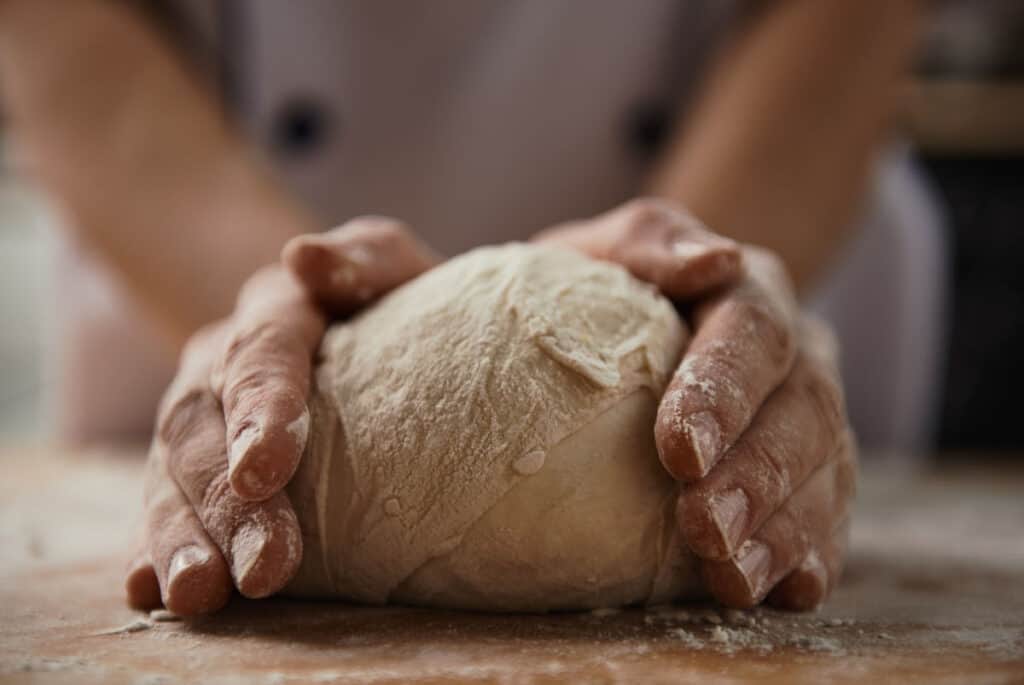
Turn this dough out onto a countertop that has been dusted liberally with flour. Rub some flour on your palms and start kneading the dough. This is a simply a process that allows the gluten to form and gives bread its structure. There are all kinds of videos and books on how to do this ‘properly.’
For the most part just keep pushing the dough in one direction and folding it over itself over and over again, adding flour as necessary to keep it from sticking to the counter or hands.
Eventually, the dough will form into a smooth, elastic ball.
The First Rise
Rub a little oil on the sides of a bowl and turn the dough around in the oil to coat lightly. Cover this bowl with a towel and let it sit somewhere warm.
Give it about an hour to 90 minutes. The dough will rise in this time and grow to about double the size.
Punch Down & Knead Again
Punch down the dough in the bowl, it will deflate. Quite literally put your fist into the dough.
Turn this out onto the counter still coated with flour and knead again, pushing out any air bubbles that form in the dough.
Shape the dough into a disk or ball or alternatively, place in a bread pan.
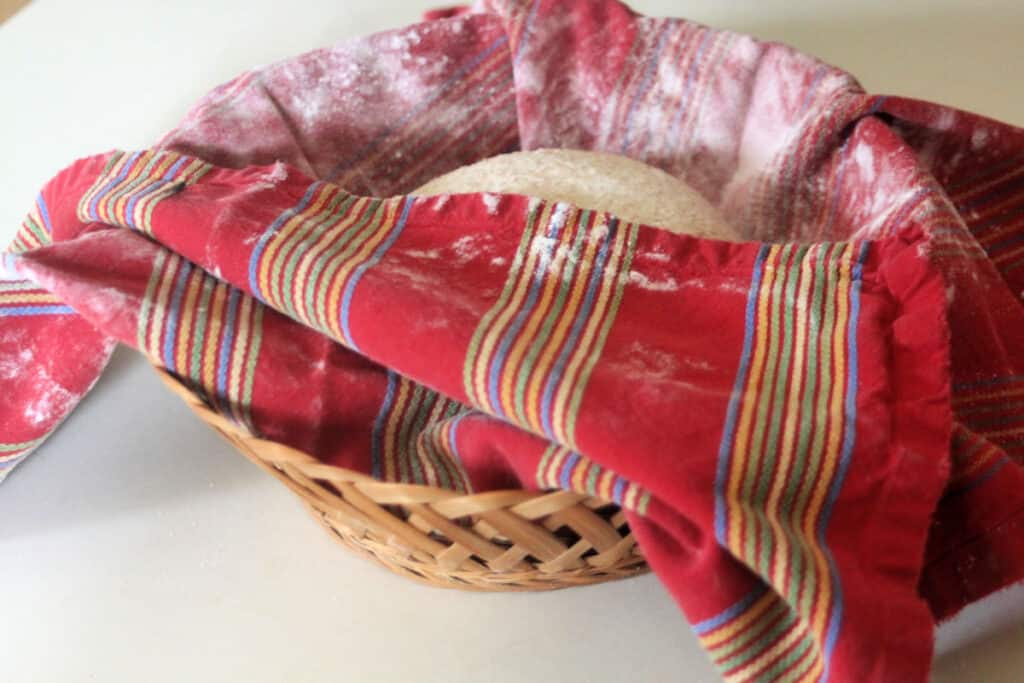
The Second Rise
Let the dough rise again on a baking sheet, in a towel lined basket, or in the bread pan. This will allow the bread to take some shape.
Let it reach double in size this should take about 30 minutes to an hour.
Baking the Loaf of Bread
Preheat the oven to 425 degrees.
Once the is heated and the dough has risen again, slash the top of the dough with a very sharp knife or razor blade (optional but pretty).
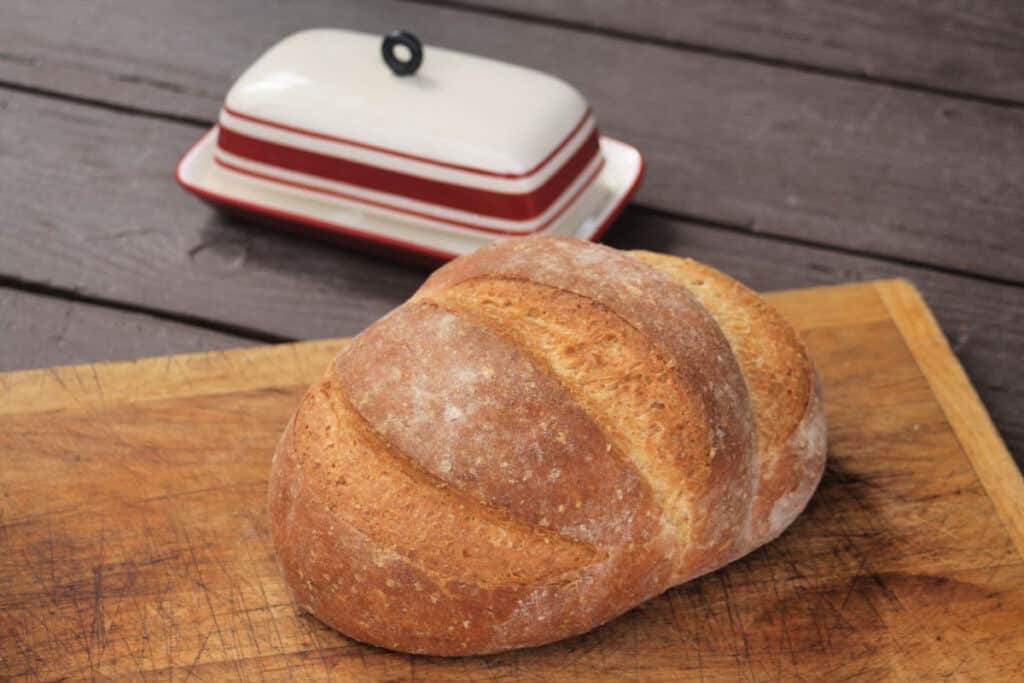
Place the bread in the oven and bake 30 minutes. The bread is done when it sounds hollow when tapped with the knuckle.
Remove the bread from the baking sheet or pan and allow to cool completely on wire racks before slicing.
Troubleshooting
My yeast didn’t foam. This means the yeast is dead or the water was too hot or too cold. Water above 115 degrees kills yeast and water below 100 degrees won’t activate it properly. Start over with fresh yeast and water in the 110 to 115 degree range. If you don’t have a thermometer, the water should feel warm on your wrist — not hot.
My dough isn’t coming together. Keep adding flour a little at a time and keep mixing. Bread dough takes a few minutes to come together — be patient. If the dough is still a shaggy mess after several minutes of mixing, add flour by the tablespoon until it starts to form a cohesive ball.
My bread didn’t rise. A few possible causes — dead yeast (see above), a kitchen that’s too cold, or not enough rise time. Find the warmest spot in your kitchen: near the oven, on top of the refrigerator, or in an oven with just the light on. Don’t rush the rise.
My bread is dense and heavy. Dense bread usually means under-kneading, under-proofing, or too much flour. The dough should feel smooth and elastic after kneading — if it still feels rough and tight, keep kneading. Also make sure you gave it the full rise time at both stages.
My crust is very hard. A hard crust on a basic loaf usually means it baked a little too long or the oven runs hot. Check at 25 minutes and pull it when it sounds hollow when tapped. If you prefer a softer crust, brush the loaf with a little butter right when it comes out of the oven.
How do I know when it’s fully baked? The hollow tap test is the classic method — tap the bottom of the loaf with your knuckle and it should sound hollow rather than dense. You can also use an instant read thermometer, fully baked bread reaches an internal temperature of 190 to 200 degrees Fahrenheit. When in doubt, give it a few more minutes.
How to Store
Homemade bread doesn’t have the preservatives of store-bought bread so it won’t last as long — that’s actually a good sign.
Keep your loaf at room temperature wrapped in a clean kitchen towel or in a bread bag for up to 3 days. Avoid plastic bags for crusty loaves as they trap moisture and soften the crust quickly — plastic is better for softer sandwich-style loaves.
For longer storage, slice the loaf and freeze in a freezer bag. Pull out slices as needed and toast straight from frozen. Use up frozen bread within 3 months for best flavor.
Looking for your next bake? These yogurt dinner rolls use the same basic technique and are a great way to practice shaping.
Basic Bread Recipe
Learn how to bake a loaf of bread from flour, water, salt, and yeast and no other special equipment with this easy method that provides great results.
Ingredients
- 1 Tablespoon Dry Active Yeast
- 1 Cup Warm Water
- 1 1/2 teaspoons Salt
- 1 1/3 Cups All Purpose Flour
- 1 1/3 Cups Whole Wheat Flour (or use more All-Purpose Flour)
Instructions
- Mix warm water and yeast in a large bowl. Let sit until foamy, about 5 minutes. If the yeast doesn't foam, it may be dead or the water was too hot or cold — start over with fresh yeast.
- Add 1 cup of flour and the salt and stir. Continue adding flour a little at a time until a soft dough begins to form.
- Turn out onto a floured surface and knead until smooth and elastic, about 8 to 10 minutes. The dough should feel tacky but not sticky — add flour by the tablespoon if it's sticking to your hands.
- Place in a lightly oiled bowl and turn to coat. Cover with a towel and let rise in a warm place until doubled, about 60 to 90 minutes.
- Punch down the dough and turn out onto a floured surface. Knead briefly to push out air bubbles. Shape into a round loaf, oval, or place in a greased bread pan.
- Place on a greased baking sheet or in the bread pan. Cover with a towel and let rise until doubled, about 30 to 60 minutes.
- Preheat oven to 425 degrees Fahrenheit.
- Slash the top of the loaf with a sharp knife or razor blade if desired.
- Bake in the preheated oven for 25 to 30 minutes or until golden brown and hollow sounding when tapped on the bottom. An internal temperature of 190 to 200 degrees Fahrenheit confirms it's fully baked.
- Remove from the baking sheet or pan and let cool completely on a wire rack before slicing.
Nutrition Information:
Yield: 12 Serving Size: 1 sliceAmount Per Serving: Calories: 99Total Fat: 1gSaturated Fat: 0gTrans Fat: 0gUnsaturated Fat: 0gCholesterol: 0mgSodium: 266mgCarbohydrates: 21gFiber: 2gSugar: 0gProtein: 4g
I try but cannot guarantee this nutritional information is 100% accurate.

Leave a Reply