

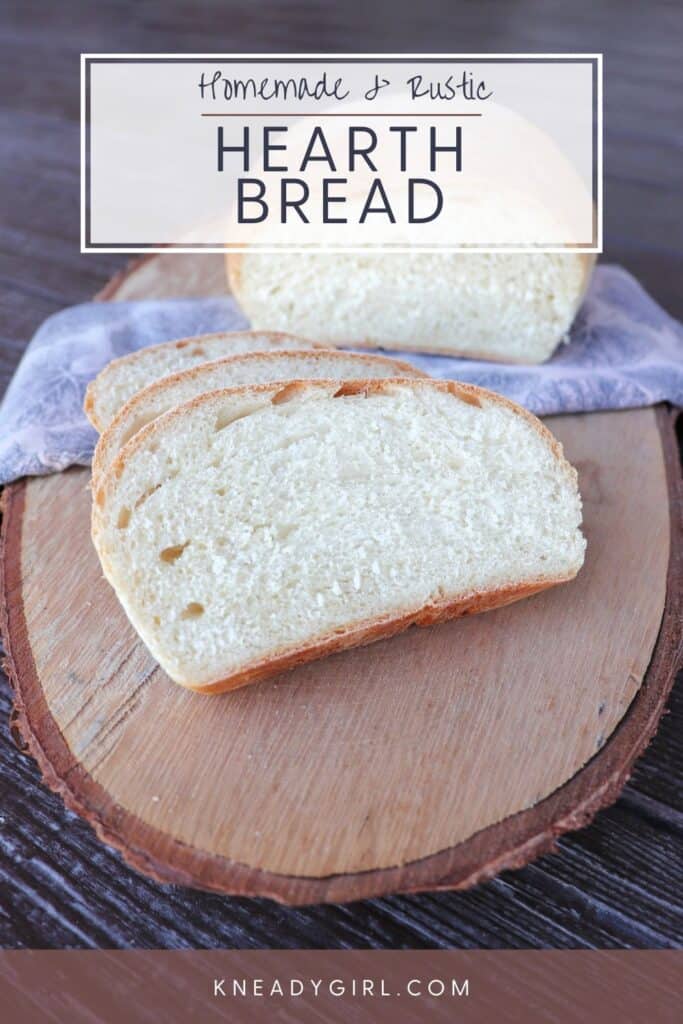
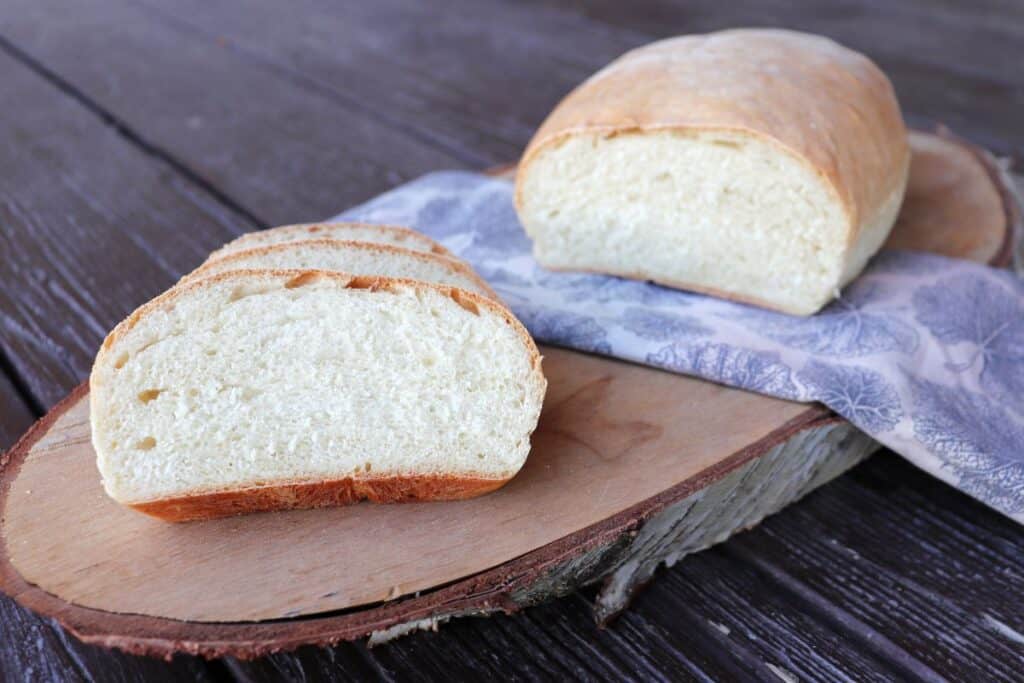
This easy hearth bread recipe makes a simple and rustic loaf perfect for serving alongside most any meal.
This basic bread recipe is great for beginners to get the hang of making bread from scratch but its versatility makes it ideal for advanced bakers to return to again and again.
If you have a hankering for homemade bread but don’t loaf pans and don’t want to mess around with fancy shapes this hearth bread recipe is for you!
What is Hearth Bread?
Hearth bread is one of the oldest and simplest styles of bread there is. It is a free-form loaf baked directly on a flat surface rather than in a pan, which is how bread was made long before loaf pans existed. As the name suggests, it was baked on the hearth of stoves and fireplaces. This is the kind of bread you can imagine our great-grandmothers baking — simple dough shaped by hand and slid onto a hot brick or stone.
We can recreate that same simplicity in our modern kitchens by using a pizza stone or hot baking stone in the oven. Don’t have a baking stone? A cookie sheet works just fine.
Experience Level : Beginner
If you’ve never baked a loaf of bread before this is the ideal recipe with which to start. It’s basic and easy with no fussy forming or ingredients.
This is a great recipe to try again and again to just get the feel of what a bread dough should feel like when kneading and to gain practice with almost flawless and tasty results each time.
It also lends itself well to further experimentation with shapes and even different additions as confidence grows.
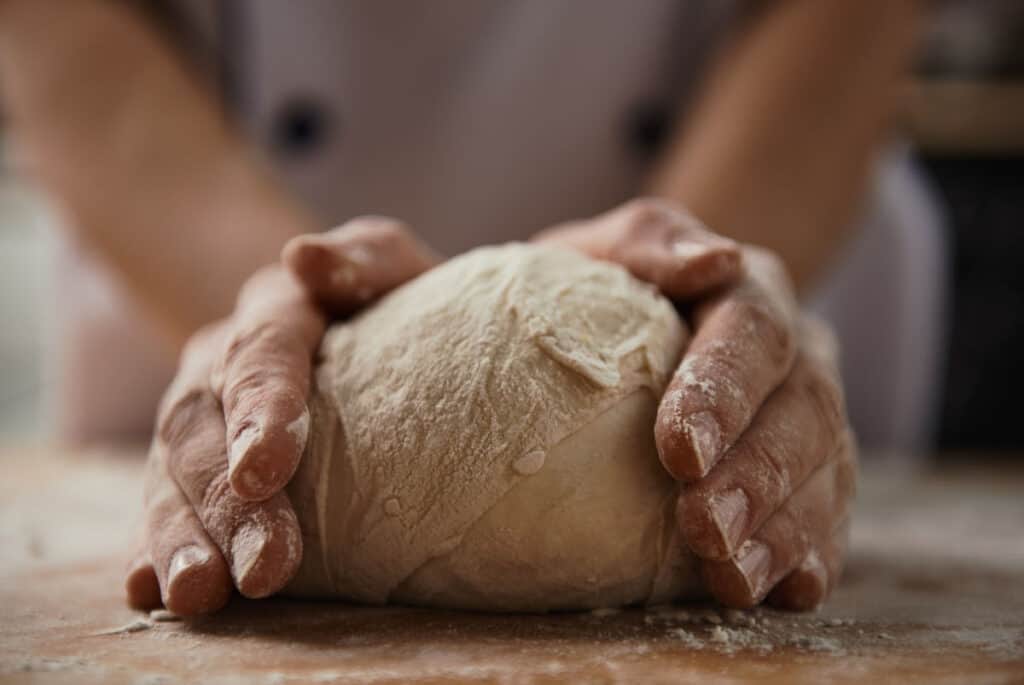
How to Knead Dough
If you’ve never made bread before, kneading dough is fairly simple but important.
Simply dust your counter with a little flour, then just keep pushing the dough in one direction with the heels of your hands and folding it over itself over. Repeat this motion adding enough flour as necessary to keep it from sticking to the counter or hands. Eventually you will feel that dough has become soft and elastic – this can take 10 minutes or more by hand, much less if you use the dough hook on a stand mixer.
Whole Grain Options
If you’d like to switch this up from a basic white bread, feel free to substitute up to half of the all-purpose flour with whole wheat flour.
You could also use rye flour, if desired.
Do know that whole grain flours absorb water different so add slowly and mix with a wooden spoon until the dough forms and then knead into a smooth ball.
For a Crustier Bread
Want a crispy crust with a soft interior? Simply add some water to the oven.
An easy way to do this is to spray the walls of the oven with some cold water. Place the baking sheet inside and spray again, closing the oven door quickly.
You can also put a shallow pan of water in the oven with the bread as it bakes, but I’ve often found that just spritzing the walls of the hot oven with water provides enough steam for a crunchy crust. Either method creates enough steam for a noticeably crunchier crust.
Want something even crispier? Try my French bread recipe.
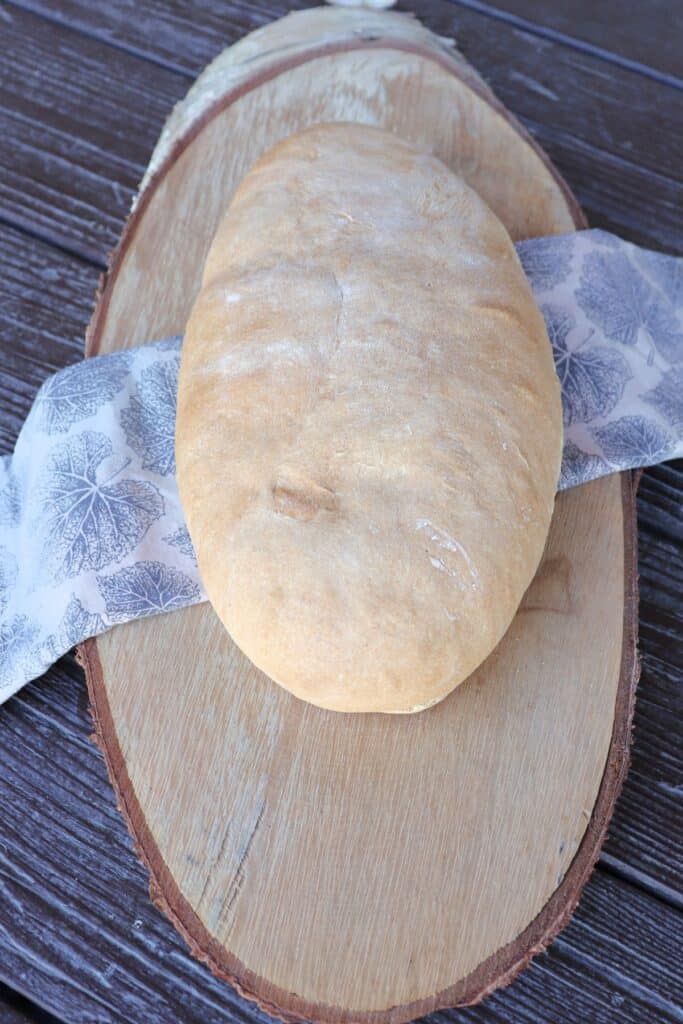
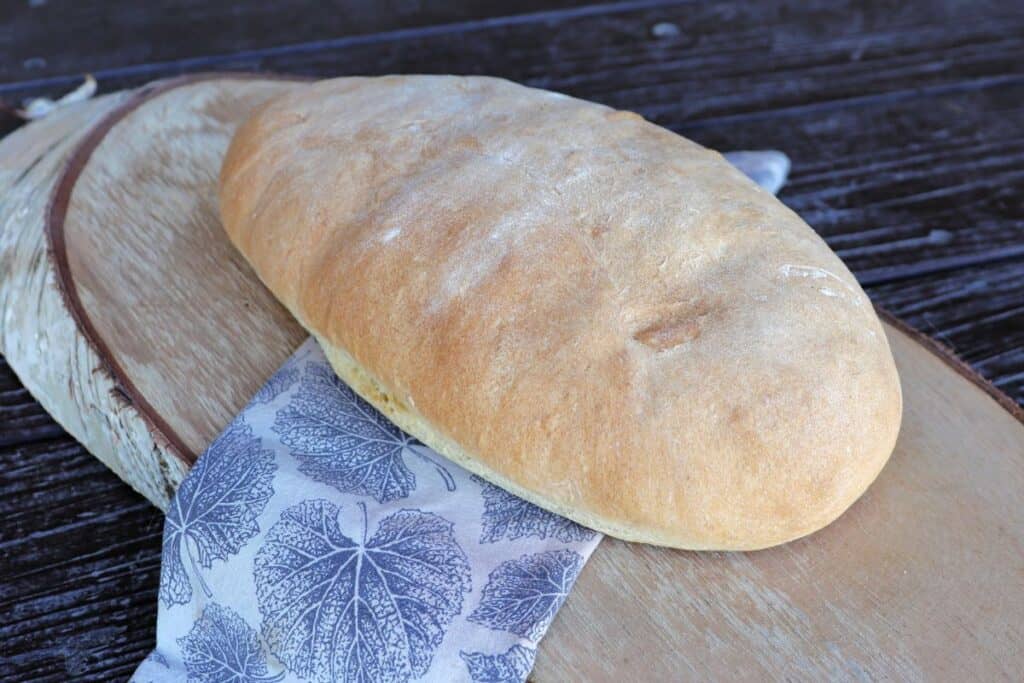
Different Shapes
A wide oblong loaf works well and generally two fit easily on a large baking sheet. Round loaves are beautiful and great for tearing at the table. Longer, thinner French-style shapes also work well.
The recipe makes two loaves, but you could divide the dough into 3 or 4 smaller loaves. Just check for doneness a bit earlier. You could even shape the dough into rolls, though baking time will be significantly shorter.
How to Serve
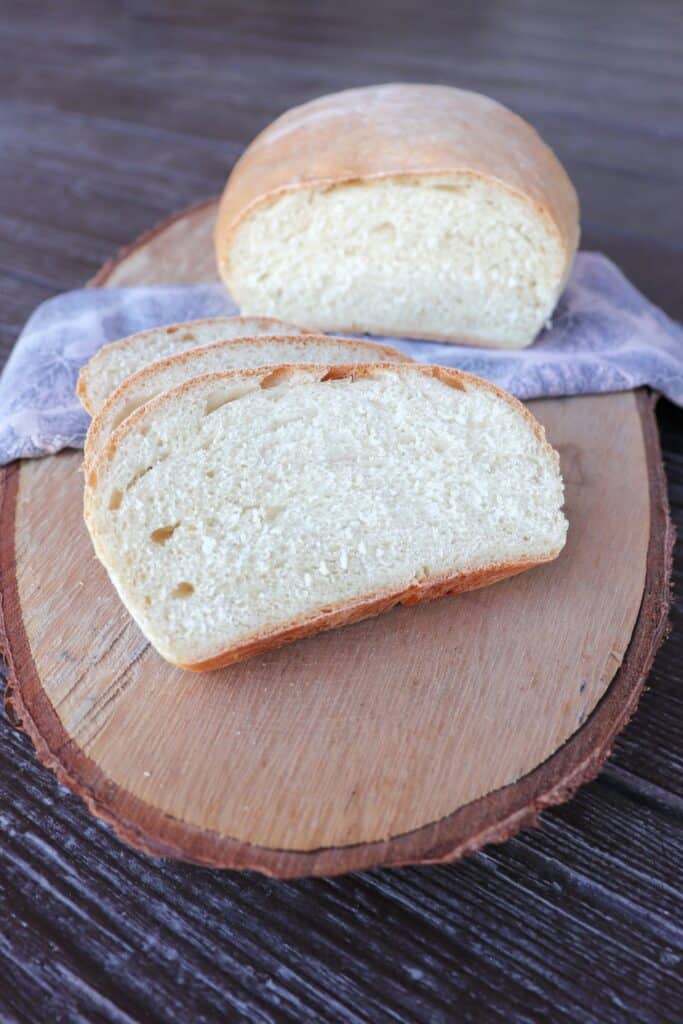
This is an easy bread to serve alongside most any meal. Slice it and pass it around in a basket with soups, salads, and main courses. It’s especially good for sopping up broth or dipping into olive oil as part of an appetizer spread.
It works well for breakfast toast and French toast, and because this is a basic white bread, it handles all your sandwich needs too — peanut butter and jelly, grilled cheese, tuna salad, and more.
How to Store
Wrap the baked and cooled loaves in some plastic wrap or store in an airtight container, they should stay fresh for up to 4 days that way.
For longer term storage, place the baked and cooled loaves into freezer bags and toss into the freezer.
Alternatively, slice the loaves and place the slices into freezer bags and freeze. This slice method allows you to pull out just a few slices at a time as needed.
Simply let frozen bread thaw at room temperature prior to use. Use up any frozen bread within 6 months for best flavor.
Troubleshooting
The loaves spread out flat instead of rising upward. This usually means the dough was too wet or not kneaded enough to develop structure. Add flour a little at a time during kneading until the dough is smooth and holds its shape when formed. If the dough feels very slack, it needs more flour.
The crust is too pale. Make sure the oven is fully preheated before the loaves go in. A hot oven from the start gives the bread a good initial spring and helps the crust color. You can also brush the loaves lightly with water just before baking for a slightly deeper color.
The bread is dense. Knead until the dough is genuinely smooth and elastic, which can take 8 to 10 minutes by hand. Under-kneaded dough won’t trap enough gas during rising and will bake up heavy. Also make sure your yeast foams during the first step — if it doesn’t, start over with fresh yeast.
The loaves stuck to the baking sheet. Line the sheet with parchment paper or grease it well.
The bread dried out quickly. Free-form loaves have more exposed crust than pan loaves, so they can dry out a little faster. Wrap cooled bread in plastic wrap rather than leaving it in a bag with air space, and it should stay fresh for the full 4 days.
If you love a simple, versatile loaf, try whole wheat Italian bread for a whole grain take on the same idea. For something with more flavor built in, sesame bread adds a seeded crust and molasses depth.
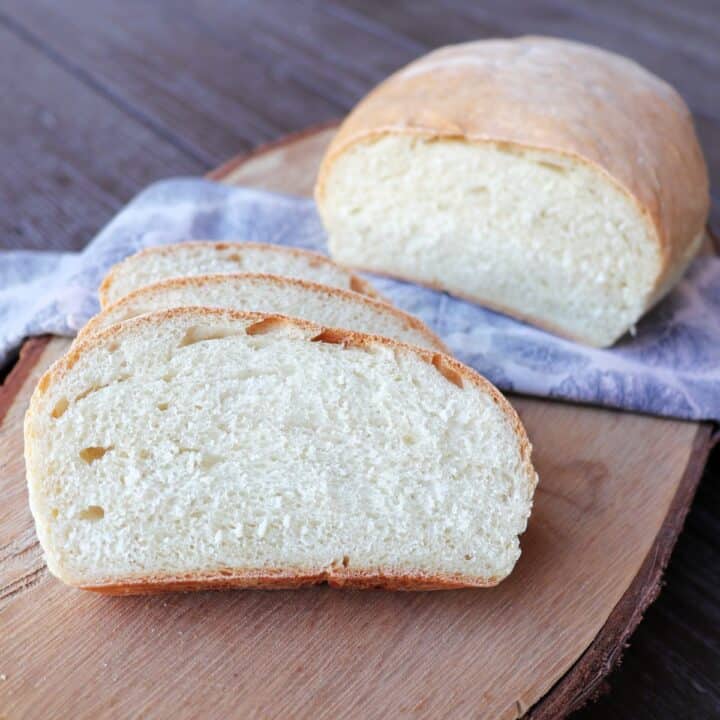
Hearth Bread
Easy hearth bread is a rustic, free-form loaf with a crispy crust and soft interior. No loaf pan needed. This beginner-friendly recipe makes two loaves and comes together with just five pantry ingredients.
Ingredients
- 1 Tablespoon Active Dry Yeast
- 1 Tablespoon Sugar
- 2 Cups Warm Water
- 1 Tablespoon Salt
- 5 1/2 Cups Unbleached All-Purpose Flour
Instructions
- In a large mixing bowl, combine yeast, sugar, and water. Let sit until foamy, about 5-10 minutes.
- Add 3 cups of bread flour and mix well. Stir in the salt.
- Add the remaining bread flour a bit at a time until a soft dough begins to form.
- If using a mixer with a dough hook, the dough will clean the sides of the bowl.
- Turn out onto a floured surface and knead until soft and elastic.
- Grease a bowl and place the bread dough inside, turning to coat.
- Cover bowl with a tea towel and let dough rise until doubled in a warm place, about an hour.
- Punch dough down and turn out to a floured board.
- Knead slightly and divide the dough into two equal pieces (use a kitchen scale to weigh the dough and make each piece the same).
- Grease a large baking sheet or line with parchment paper.
- Form each dough half into a round or oblong shape and place on baking sheet.
- Cover the loaves with a clean towel and place somewhere warm to rise.
- Let loaves rise until doubled in a warm area, approximately 30 to 45 minutes.
- Meanwhile preheat oven to 375 degrees Fahrenheit.
- If desired, score the tops of the loaves with a sharp knife or razor.
- Bake in preheated oven for 30-35 minutes. The loaves will be golden and sound hollow when tapped with a knuckle when done.
- Remove from baking sheet to cool on a wire rack.
Nutrition Information:
Yield: 32 Serving Size: 1Amount Per Serving: Calories: 81Total Fat: 0gSaturated Fat: 0gTrans Fat: 0gUnsaturated Fat: 0gCholesterol: 0mgSodium: 199mgCarbohydrates: 17gFiber: 1gSugar: 0gProtein: 2g
I try but cannot guarantee this nutritional information is 100% accurate.

Very good! We did half whole wheat and it was nice