
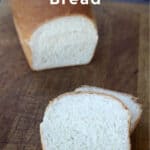

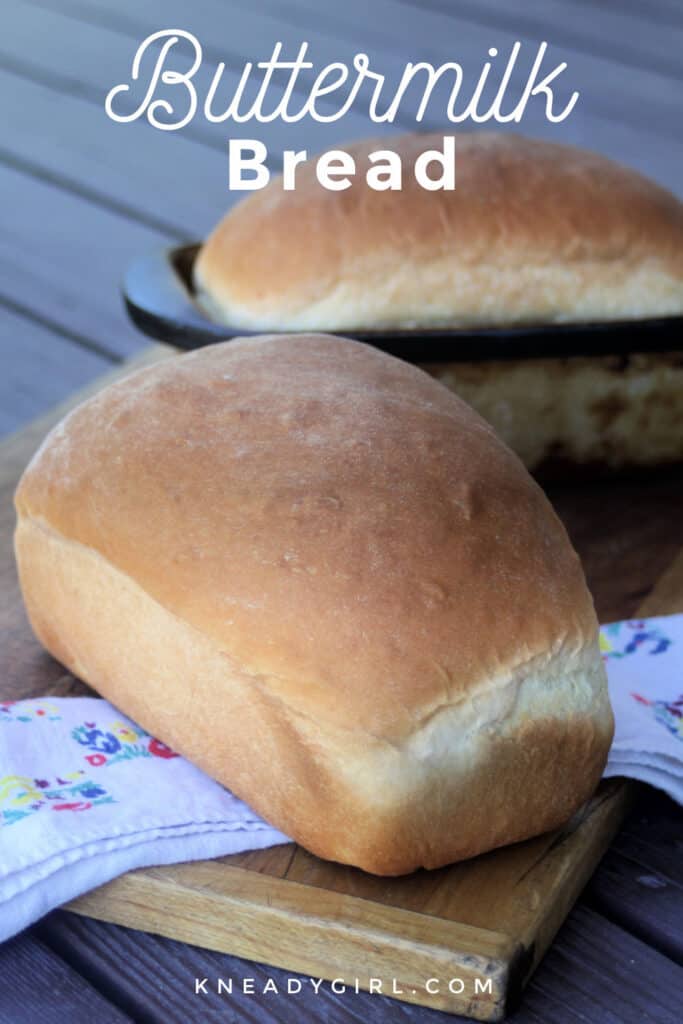
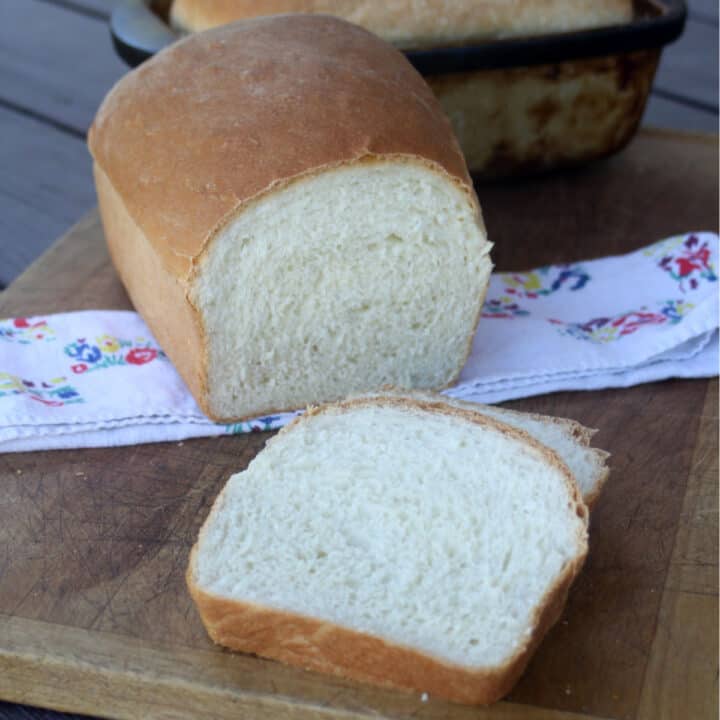
Bake up some buttermilk bread loaves for a rustic, comforting soft bread that is to sure to delight the whole family.
This bread results in pillowy almost creamy slices that are great for a range of serving ideas and will likely please most anyone at the dinner table, even your pickiest eaters.
Simple Ingredients
This is a basic recipe with fairly straight-forward and yet when they combine they become something quite luxurious.
Do use real buttermilk here for best flavor. Regular milk soured with vinegar will work but the flavor and richness isn’t quite the same. And while the powdered buttermilk mixed with water won’t likely ruin the bread the flavor is not at all comparable.
Rustic & Unassuming
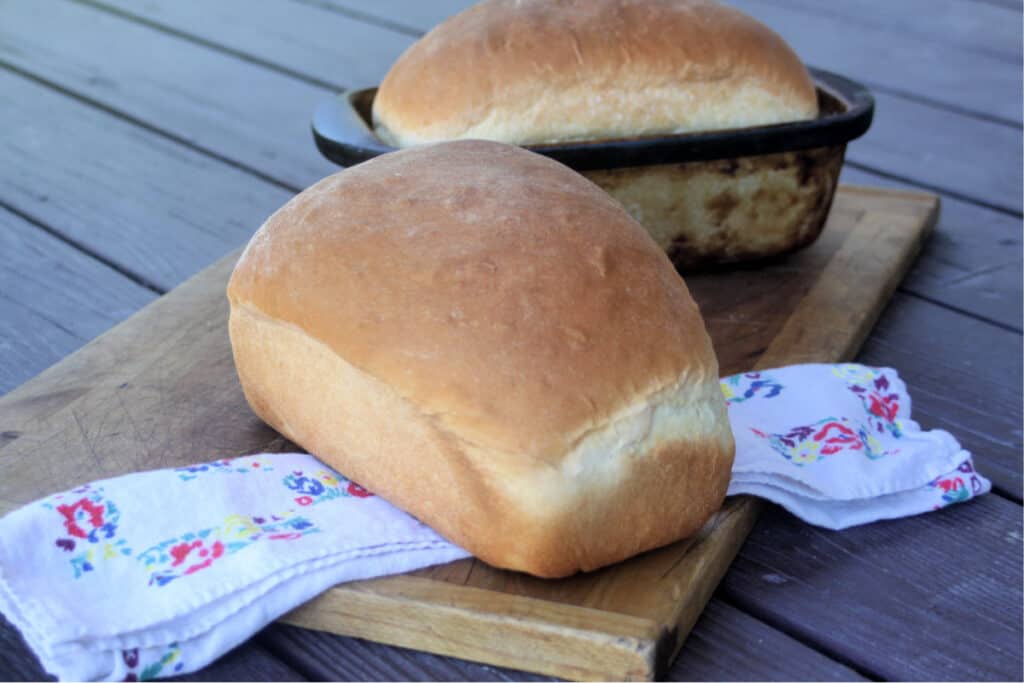
The great thing about this homemade bread is that it’s rustic and unassuming. There’s no need to call it artisanal or gussy it up in anyway.
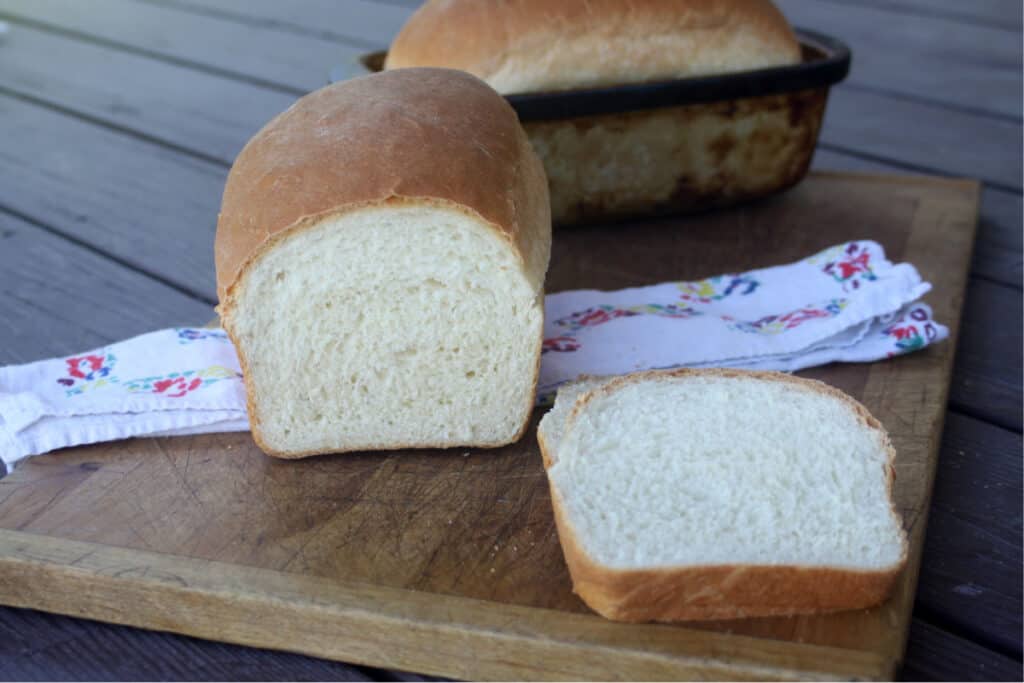
That simple, rustic nature means it will appeal to folks who might otherwise shun whole grain or ‘fancy’ breads.
However, the comforting nature will also appeal to those who might truly love the artisanal or whole grain loaves on a more regular basis than basic white bread.
Difficulty Level: Beginner
This is a very simple bread recipe, using 100% all-purpose flour making it perfect for beginner and first time bread bakers. Do just make sure to check the temperature of the buttermilk with a thermometer (so it’s between 110 and 115 degrees Fahrenheit) before adding it to the yeast.
Good Keeper
The moistness in the bread means it will keep well at room temperature for several days if stored in an airtight container.
How to Serve
Homemade buttermilk bread will work for most anything you would normally use bread. Great for sandwiches, toast, etc.
Slather slices in peanut butter and tuck into lunch boxes.
Warm bread is perfect served alongside soups and salads for an incredibly comforting meal that will get rave reviews.
One of my favorite things is a grilled cheese sandwich on this bread.
Definitely consider French toasting some for Sunday brunch.
How to Freeze
This bread freezes easily and well. Consider making extra loaves as a good way to always have some bread on hand.
Simply place cooked and cooled loaves into airtight bags and freeze.
Alternatively, slice the bread and freeze slices in airtight bags. Freezing slices allows you to just grab what you need instead of an entire loaf at one time.
Use up within 6 months for best flavor and to prevent freezer burn.
Want more Easy Bread Recipes? Check out all my beginner recipes on the index.
Buttermilk Bread
This easy recipe results in a comforting, airy, and creamy bread perfect for simple sandwiches and toast.
Ingredients
- 2 Cups Buttermilk
- 4 Tablespoons Salted Butter
- 2 Tablespoons Sugar
- 1 Tablespoon Yeast
- 1 Tablespoon Salt
- 5 1/2 Cups Unbleached All Purpose Flour
Instructions
- Combine the buttermilk and butter in a small saucepan. Heat over low heat, do not let it boil. Don't worry if it curdles. Using a thermometer, heat the mixture to 110 to 115 degrees Fahrenheit. If it gets over that temperature, let it cool until it gets in that range.
- In a large mixing bowl, whisk together the yeast and sugar.
- Add the buttermilk mixture (in the 110 to 115 degree range) to the yeast mixture. Let sit until foamy 5 to 10 minutes.
- Add 2 cups of the flour and salt. Mix well.
- Begin adding the rest of the flour until a soft dough forms.
- Turn out to a floured work surface and knead until the dough is soft and elastic.
- Grease a large bowl and transfer dough to it. Turn the dough around inside to coat with the oil.
- Cover the bowl with a towel and let rise in a draft-free place until doubled about an hour.
- Grease 2 bread pans.
- Punch down the bread dough and turn out to a floured board and knead slightly.
- Divide the dough in half and form into loaves.
- Place dough loaves into prepared loaf pans, cover with a towel. Let rise until doubled about 45 minutes. Make sure to give it ample time to rise above the top of the pan
- Meanwhile preheat the oven to 350 degrees Fahrenheit.
- When doubled, bake the loaves in the preheated oven for 45 minutes. The loaves will be golden brown and sound hollow when tapped with a knuckle when done.
- Remove from bread pans immediately to cool on wire racks.
Recommended Products
As an Amazon Associate and member of other affiliate programs, I earn from qualifying purchases.


Nutrition Information:
Yield: 30 Serving Size: 1 sliceAmount Per Serving: Calories: 108Total Fat: 2gSaturated Fat: 1gTrans Fat: 0gUnsaturated Fat: 1gCholesterol: 5mgSodium: 255mgCarbohydrates: 19gFiber: 1gSugar: 2gProtein: 3g
I try but cannot guarantee this nutritional information is 100% accurate.

Leave a Reply